 How-to
7 Reasons Professional Cabinet Painting Lasts Longer
Last Updated: October 26, 2026
Quick Summary
Professional cabinet painting lasts longer because the finish is built as a system, not a single coat of paint. Full prep, matched primer and cabinet-grade enamel, sprayed application, and a controlled cure environment give a professional finish an expected service life of 8 to 12 years, while a typical DIY finish often fails within 2 to 5 years.
- DIY finishes often fail within 2 to 5 years, while professional finishes last 8 to 12 years with routine care.
- Doors, drawers, and hardware come off first, and every door is labeled by location.
- Degrease before sanding, paying extra attention around handles, the range, and the sink.
- A sprayed finish lays down even and thin, with no brush marks or heavy spots that crack later.
- A pro controls dust, temperature, and traffic while the finish reaches full hardness over days or weeks.
Table of Contents
- Why Professional Cabinet Painting Outlasts DIY
- Cabinet Painting Preparation: Where Most DIY Jobs Fail
- The Best Paint for Kitchen Cabinets and Why Coating Choice Matters
- How Long Do Painted Cabinets Last? Professional vs DIY Timelines
- Cure Time vs Dry Time: The Step Homeowners Overlook
- How to Maintain Painted Cabinets to Protect the Finish
- Diagnosing Failures: Chipping, Peeling, and What Caused Them
- How to Vet a Cabinet-Painting Contractor Before You Hire
- Frequently Asked Questions
Why Professional Cabinet Painting Outlasts DIY
Professional cabinet painting lasts longer because the finish is built as a system, not a single coat of paint. At LMJ Bright Painting Services, we plan each project with a written scope before work begins.
A question homeowners may ask is why professional cabinet painting can outlast a DIY job. The answer is not better paint alone.
Cabinet Painting Preparation: Where Most DIY Jobs Fail
Preparation is one factor that can affect a finish. This article describes a preparation sequence and why each step may matter.
Step 1: Remove and Label Everything
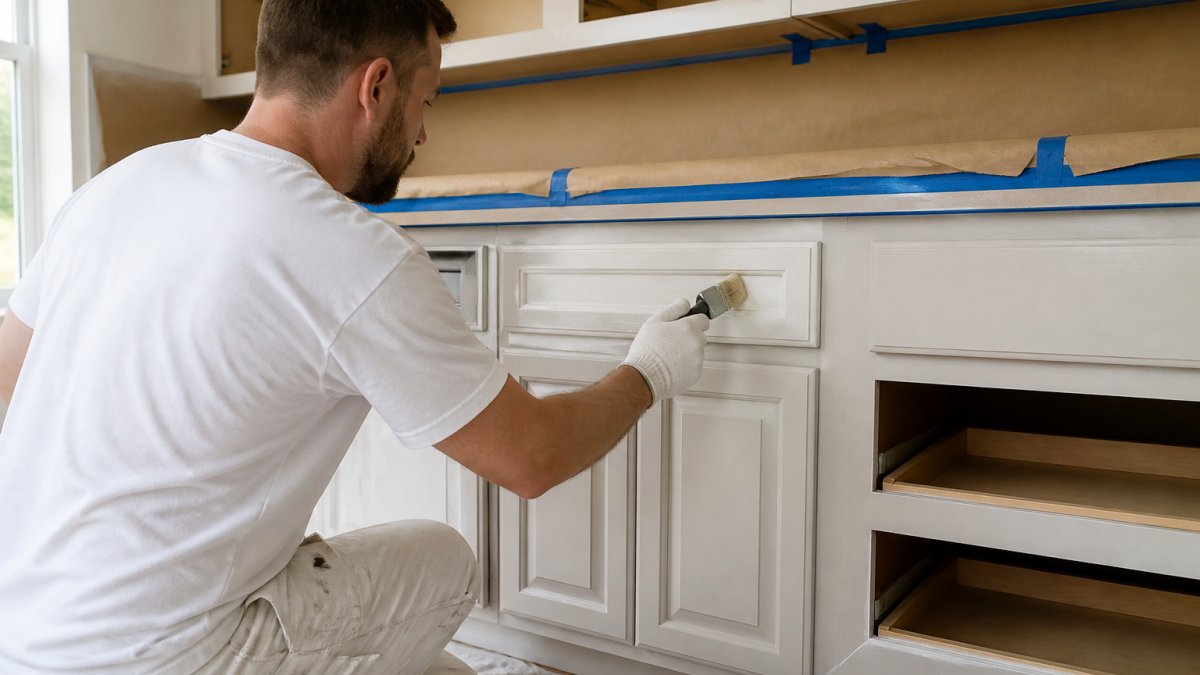
Doors, drawers, and hardware come off first. Every door gets labeled by location so it goes back on the same opening. Hinges and pulls are bagged and tagged. This is not busywork. Painting doors in place leaves edges and inside corners under-coated, and reinstalling doors in the wrong opening causes alignment problems that get blamed on the paint.
Step 2: Degrease Before You Sand
Pay extra attention to the areas around handles, the range, and the sink, where film builds up fastest.
Step 3: Sand to Open the Surface
Sanding does two jobs. It scuffs a glossy factory finish so the primer can grip, and it feathers rough spots and old defects so they do not telegraph through the new coat. Edges and corners get the same attention as flat panels, because that is where paint wears through first.
Step 4: Repair and Fill
Dings, dents, and old hardware holes get filled and sanded smooth before priming. Filling after priming means the patch sits on top of the primer instead of bonding to the substrate, and it shows through the topcoat.
Step 5: Tack and Wipe Down
A final wipe removes sanding dust before the first coat. Dust between coats is one of the quiet causes of poor adhesion, and it is invisible until the finish fails.
Step 6: Prime for Adhesion and Stain Blocking
Primer is the bridge between the cabinet surface and the topcoat. A bonding primer grips slick factory finishes, and a stain-blocking primer keeps tannins and old stains from bleeding through. Thin primer, the wrong primer, or primer over a dusty surface all lead to the same result: paint that lifts in sheets.
Step 7: Inspect Before the Topcoat
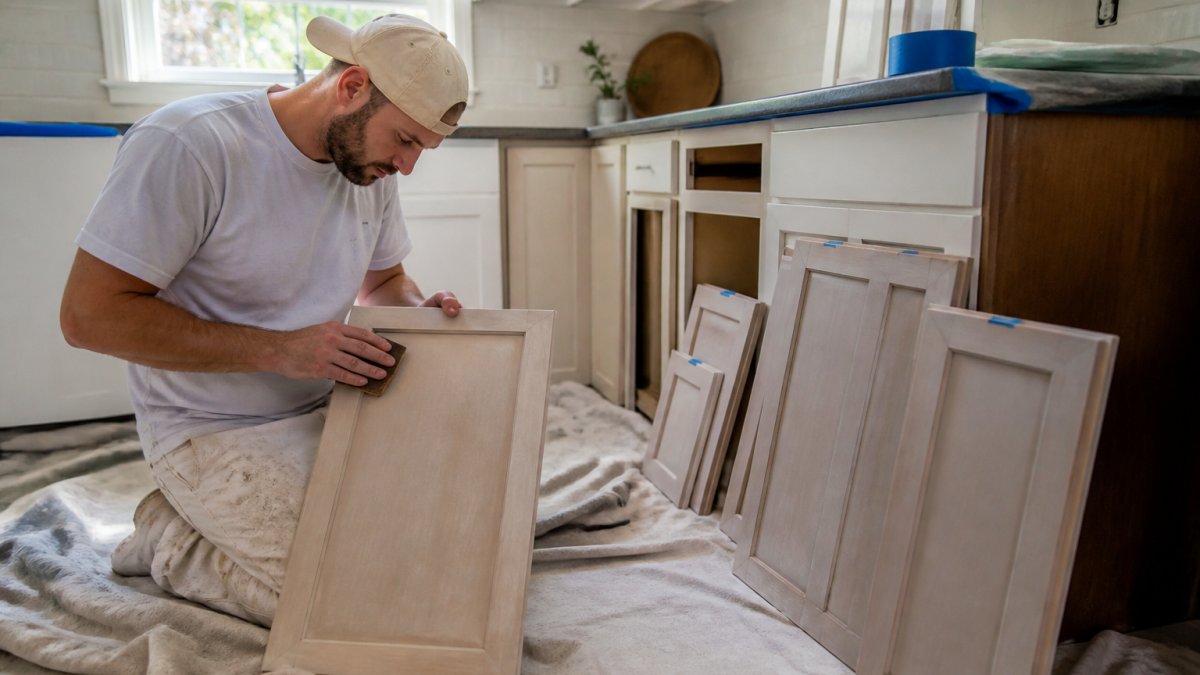
Our full process for how to prep kitchen cabinets for painting properly walks through each stage in detail.
The Best Paint for Kitchen Cabinets and Why Coating Choice Matters
Coating choice is only half the story. Application decides how that coating performs. A sprayed finish lays down even and thin, with no brush marks or heavy spots that crack later.
How Long Do Painted Cabinets Last? Professional vs DIY Timelines
| Factor | Professional Finish | Typical DIY Finish |
|---|---|---|
| Surface prep | Full degrease, sand, tack-wipe, and spot-prime every surface, including edges and inside corners | Often rushed; grease, dust, or glossy spots remain |
| Coating system | Cabinet-grade waterborne alkyd or acrylic enamel, primer and topcoat matched to the substrate | Wall or all-purpose paint chosen for color, not durability |
| Application | Sprayed in a controlled workspace for an even film thickness | Brushed or rolled, with uneven film and lap marks |
| Cure environment | Protected, dust-free, temperature-stable drying space | Open kitchen with traffic, cooking, and dust |
| Expected service life | 8 to 12 years with routine care | Often 2 to 5 years before visible failure |
| Failure pattern | Wear at high-touch edges after years of use | Early peeling, chipping, or tackiness within the first few years |
| Touch-up and repair | Documented products and sheen for matching repairs | Improvised; color and sheen often unavailable later |
| Maintenance burden | Low; mild soap and water, occasional touch-up | Higher; frequent cleaning and early repainting |
What Actually Drives the Longevity Gap
Adhesion.
Film build.
Coating chemistry.
Cure control. A finish reaches full hardness over days or weeks, not hours. A pro controls dust, temperature, and traffic during that window. A DIY job in a live kitchen exposes fresh paint to cooking grease, humidity, and handling before it has hardened.
Failure Risks by Path
A professional finish is not immune to wear, but the failure mode is different. It tends to wear gradually at high-touch edges after years of service rather than fail early across whole doors. That difference is what the lifespan ranges reflect.
Maintenance Burden Over the Life of the Finish
If you want to see how a planned professional job is scoped from start to finish, you can review the cabinet painting service we offer.
Cure Time vs Dry Time: The Step Homeowners Overlook
Rushing the cure is one of the quiet reasons DIY finishes fail. It is invisible on day one and obvious a year later.
How to Maintain Painted Cabinets to Protect the Finish
- Wipe door fronts and handles weekly with a soft, damp cloth
- Use mild soap, not abrasive pads or solvents
- Dry spills quickly, especially near the sink and stove
- Touch up chips early with the same paint
- Keep heat sources away from the finish
Maintenance is where how to maintain painted cabinets pays off. Small care steps add years to the finish, and they cost almost nothing.
Diagnosing Failures: Chipping, Peeling, and What Caused Them
- Peeling in sheets: grease, dust, or no primer
- Small chips at edges: thin coating or heavy impact
- Bubbles or blisters: moisture under the film
- Sticky or soft spots: paint handled before it cured
Repainting over a failure without fixing the cause just repeats it. The fix starts with the surface, not the topcoat. Our guide on how to fix chipped paint on kitchen cabinets covers the repair steps.
How to Vet a Cabinet-Painting Contractor Before You Hire
- Can they describe their prep steps in order?
- Do they name the primer and coating they use?
- Is the scope written down before scheduling?
- Do they explain the cure window and when to use the cabinets?
- Will the same crew do the work, or a subcontractor?
- Do they verify the space in person before final pricing?
A written scope defines the work before scheduling or payment. LMJ Bright Painting Services provides a written scope before scheduling or payment and verifies the project in person before final pricing.
When you are ready, you can tell us what you would like painted and request a quote without measurements or an account.
LMJ Bright Painting Services brings a planned approach to each project. As a veteran-owned company, we provide a written scope before scheduling or payment and transparent cost estimation before work begins. You get direct phone and message access to the owner.
Get started with LMJ Bright Painting Services and build a free estimate.
Frequently Asked Questions
How long do professionally painted kitchen cabinets last?
Most professionally painted cabinets hold up for 8 to 12 years before the finish shows meaningful wear. That range depends on the coating system used, how much daily traffic the kitchen sees, and whether the cabinets were properly cleaned and primed first. DIY jobs often fail in two to three years because prep steps get skipped. If you want the longer end of that range, ask your contractor which primer and topcoat they use and how long they let the finish cure before reinstalling doors and drawers.
What makes professional cabinet paint last longer than DIY?
Three things separate a lasting job from a short one: surface preparation, coating choice, and application method. Professionals degrease every surface, sand for adhesion, and apply a bonding primer before the finish coat. They also spray cabinets rather than brush them, which produces an even film with no lap marks or thin spots. The best paint for kitchen cabinets, typically a waterborne alkyd enamel or conversion varnish, only performs as designed when those earlier steps are done correctly.
Can I paint over cabinets that have already been painted?
Yes, but the existing coating has to be sound. Peeling or chipping areas must be sanded back and feathered before any new paint goes on, and glossy surfaces need scuff sanding so the new coat can grip. A bonding primer helps bridge old and new finishes. If the previous job failed because of grease or poor prep, painting over it without fixing that cause just repeats the problem. A contractor should inspect the current finish before quoting.
How should you care for painted cabinets to prevent wear?
Wipe high-touch surfaces like drawer fronts, door edges, and handles with a damp cloth and mild dish soap, then dry them. Skip abrasive pads and ammonia-heavy cleaners, which dull the finish over time. Keep cabinet doors closed during cooking so steam and grease do not settle on the paint. Touch up chips early before moisture gets under the coating. Avoid scrubbing the finish for the first few weeks after painting, since the paint is still curing even though it feels dry.