 How-to
How Do You Spot Quality Workmanship in House Painting?
Last Updated: November 16, 2026
Quick Summary
Spot quality workmanship in house painting by inspecting prep first: clean surfaces, patched and sanded cracks, primed patches, and protected floors. Then check for crisp cut-in lines, consistent sheen, and no drips, streaks, or patchiness under daylight and raking light.
- Paint magnifies flaws rather than hiding them, so judge the prep before the first coat.
- Walk each room in the same order: ceiling, walls, trim, doors and windows, floor perimeter.
- Inspect after the final coat dries to the manufacturer's recoat time, ideally the next day.
- Use daylight, room lights, and a flashlight held flat against the wall for three passes.
- A quote far below the others usually skips surface preparation, costing you later in peeling.
Table of Contents
- Why Inspection Starts Before the First Coat
- Interior Painting Preparation: The Work You Should See First
- Your Paint Job Inspection Checklist, Room by Room
- Signs of a Bad Paint Job: Streaks, Drips, and Patchiness
- Crisp Edges, Clean Lines, and Consistent Sheen
- How House Painting Cost Reflects Prep and Workmanship
- Timing, Documentation, and a Punch List for Fixes
- Build Your Free Estimate With a Written Scope
- Frequently Asked Questions
Why Inspection Starts Before the First Coat
Quality workmanship in house painting is visible long before the color goes on. It shows up in how surfaces are cleaned, patched, and primed. The finish you see in month twelve is largely decided in the first two days. A proper house painting job starts with prep, not pigment.
Here is the core idea most guides miss. Paint does not hide flaws. It magnifies them. A dent that looks minor on bare drywall casts a shadow once it is coated in satin sheen. A greasy kitchen wall will shed paint in sheets, no matter how good the brushwork.
Below, we walk through what to look for, room by room, so you can judge a paint job like a professional.
Interior Painting Preparation: The Work You Should See First
Interior painting preparation is the cleaning, repairing, and priming that makes paint bond and last. If you cannot see evidence of it, the job was rushed. Good prep is not glamorous, but it is the difference between a finish that holds and one that peels.
Walk the rooms and look for these signs:
- Clean surfaces. No dust, grease, or chalky residue under the paint.
- Patched cracks and holes. Filled, sanded flush, and invisible under raking light.
- Primed patches. Bare drywall and repaired spots should not soak up topcoat unevenly.
- Protected floors and fixtures. Drop cloths, taped edges, and covered outlets during the job.
You can see a full breakdown of what surface prep involves on our surface preparation guide before you judge your own walls.
Sanding, Patching, and Priming in Order
The sequence matters. Patching without sanding leaves ridges. Sanding without priming leaves dull, thirsty spots. Priming before patching is wasted work. A crew that follows the order gets a smooth wall that takes paint evenly.
A common mistake is skipping the sanding step on patched areas. The patch looks fine when wet, then shows a raised edge once dry. Run your palm across any repair. It should feel as flat as the surrounding wall. If you want to catch these problems early, learn the warning signs of poor surface preparation before the topcoat hides them.
Your Paint Job Inspection Checklist, Room by Room
A paint job inspection checklist turns a vague "looks good" into a fair, repeatable test. Use the same list in every room so nothing gets missed. Here is how we would work through a home.
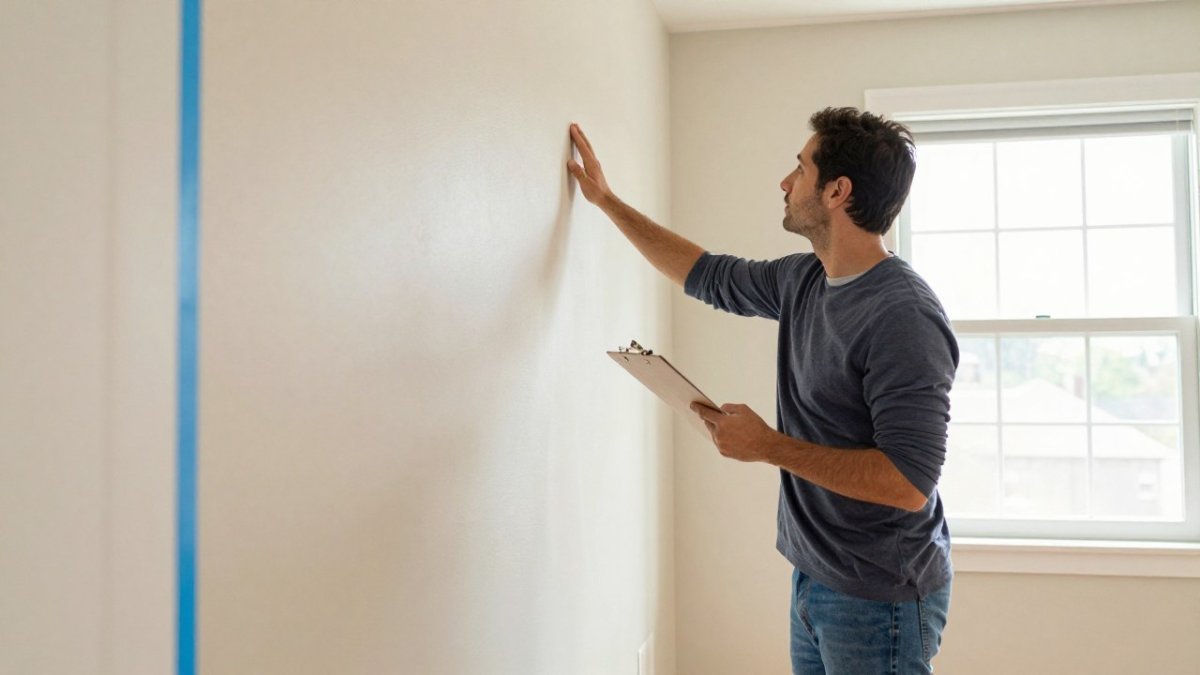
Start with a system, not a stroll. Walk each room in the same order every time: ceiling first, then walls from the top down, then trim, then doors and windows, then the floor perimeter. Carry a clipboard, a pencil, a roll of blue painter's tape, and a small flashlight.
Here is what to check in each space:
- Living areas and bedrooms. Sight down each wall from a corner at a shallow angle. Look for waves, ridges, and roller marks that catch the light. Check the ceiling line for bleed onto the ceiling and the baseboard line for paint on the floor or trim. Open and close each door to confirm no paint bridges the gap.
- Kitchens and bathrooms. These rooms show moisture-related defects first. Look for peeling or blistering near sinks, showers, and windows. Check that paint has not sealed shut a cabinet door or a window sash. Confirm that any caulk line at a backsplash or tub edge is smooth and painted over cleanly, not left as a raw bead.
- Hallways and stairwells. High-traffic walls show scuffs and thin coverage fastest. Look for lighter patches at shoulder height and along stair edges where a roller may have skipped. Check that the stair stringer and handrail were masked, not brushed over.
- Trim, doors, and windows. Run a finger along baseboards, casings, and door tops for drips, rough spots, and missed edges. Look at the top and bottom edges of doors, which are commonly missed. Check that window glass and hardware are clean, with no paint on hinges or latches.
- Closets and utility areas. These are the rooms crews rush. Look for thin coverage, missed corners, and paint on shelving rods or outlet covers. A sloppy closet is a reliable tell for the rest of the job.
How to Inspect Under Different Lighting
Lighting changes everything. A wall that looks perfect at noon can show every flaw under a lamp at night. Inspect in daylight first, then again with the room lights on. Use a flashlight held flat against the wall to reveal ridges, drips, and patchiness.
A practical sequence is to do your first pass in daylight with the room lights off, then a second pass at night with the room lights on, and a final raking-light pass with a flashlight held parallel to the wall.
Watch out: some shadows and faint texture are lighting artifacts, not defects. If a mark disappears when you move the light source or step back, it is likely normal surface texture rather than poor workmanship.
When to Inspect and How to Document It
Inspect after the final coat has dried to the manufacturer's recoat time, not while the paint is still soft. Most wall paints feel dry to the touch within a few hours but continue to cure for days, so a same-day inspection can miss adhesion problems that show up later.
Photograph each issue with the room in the frame and a second close-up, and note the location on your list before any furniture goes back. Once furniture and decor are in place, defects become harder to see and easier to dispute. A dated photo set and a written room-by-room list give you a clear record if you need to request corrections.
Here is what to check in each space, room by room.
| Area | What to check |
|---|---|
| Living areas and bedrooms | Sight down walls at shallow angle for waves, ridges, roller marks |
| Kitchens and bathrooms | Look for peeling or blistering near sinks, showers, windows |
| Hallways and stairwells | Check for lighter patches at shoulder height and stair edges |
| Trim, doors, and windows | Run a finger along baseboards and casings for drips |
| Closets and utility areas | Look for thin coverage, missed corners, paint on shelving rods |
Signs of a Bad Paint Job: Streaks, Drips, and Patchiness
The signs of a bad paint job are easy to spot once you know them. Streaks, drips, and patchiness all point to thin coats, poor technique, or skipped prep. Look for these red flags:
- Streaks and brush marks where the paint did not level out.
- Drips and runs from too much paint applied too fast.
- Patchiness and missed spots where the color looks uneven.
- Dull or glossy areas where sheen is not consistent.
- Peeling paint near edges, corners, or high-moisture rooms.
Acceptable Imperfections Versus Real Defects
Not every tiny flaw is a defect. Fresh paint can show faint texture from the roller, and a hairline at a corner is normal. A real defect is something that affects looks or durability: a run down the wall, a missed spot, peeling at an edge, or a patch you can feel. Judge by whether it catches your eye from a normal standing distance. If it does, ask for a touch-up.
Crisp Edges, Clean Lines, and Consistent Sheen
Crisp edges and clean lines are the clearest proof of skilled workmanship. A quality paint job has straight cut-in lines where wall meets ceiling, trim, and corners. Run your eye along each line. It should be sharp, not wavy or bleeding onto the adjacent surface. Consistent sheen matters just as much. Tilt your head and scan the wall for dull or glossy patches, which signal uneven coats or missed primer.
Good brushwork shows in the details:
- Straight lines at ceilings and trim
- No paint on window glass or hardware
- Even sheen across the whole wall
- Smooth surfaces free of ridges and roller marks
How House Painting Cost Reflects Prep and Workmanship
House painting cost tracks directly to prep and workmanship, not just square footage. A low bid often means thin prep and quick coats. A fair bid reflects the labor that makes a finish last. Our guide to what's included in interior painting estimates shows how a written estimate should break down prep and workmanship so you can compare quotes fairly.
Watch out: a quote that is far below the others usually skips surface preparation, and you pay for it later in peeling and touch-ups.
Timing, Documentation, and a Punch List for Fixes
Timing and documentation protect you. Ask when each stage happens, then confirm it in writing. A written scope should list prep steps, number of coats, and the products used. Before final payment, do a walk-through and build a punch list.
A punch list is a written list of fixes the crew agrees to complete before the job closes. Use a scope-of-work template to record what was promised, then hold the crew to it. Note each item, the room, and the agreed fix. Both sides sign off when the list is done.
Build Your Free Estimate With a Written Scope
The best way to avoid surprises is to start with a clear scope. At LMJ Bright Painting Services, our veteran-owned team builds a written scope before scheduling or payment, so you know exactly what prep and workmanship you are paying for.
Ready to price your project? Use our free interior painting cost estimator to get a preliminary estimate tied to your written scope. Get started with LMJ Bright Painting Services and paint with confidence from the first coat to the final walk-through.
A quality paint job rewards a careful eye. If you want a crew that plans the prep, documents the scope, and stands behind the finish, LMJ Bright Painting Services is built for exactly that.
Frequently Asked Questions
What are the clearest signs of a bad paint job?
Look for patchiness where the old color shows through, visible roller marks or brush marks in the finish, drips and runs under edges, and wavy cut-in lines where wall meets ceiling. Peeling paint or paint that lifts near caulk usually points to skipped surface preparation. Check corners and behind furniture too, since missed spots hide there. If several of these appear in one room, the job was rushed rather than simply imperfect.
What should I inspect after interior painting is finished?
Walk each room with a paint job inspection checklist: even coverage, consistent color wall to wall, uniform sheen with no dull or glossy patches, smooth surfaces without ridges or streaks, and crisp edges along trim and ceilings. Run a hand along walls to feel for grit or bumps. Then check under different lighting, since a finish that looks fine in daylight can show lap marks under a lamp. Note anything questionable on a punch list before final payment.
Should a professional paint job have visible brush marks?
A small amount of texture is normal, especially on trim and doors where brushing is standard. What you should not see is raised ridges, heavy stipple, or brush marks that catch the light across a flat wall. Those usually mean the paint was applied too thick or not laid off properly. On cabinets especially, a quality finish feels smooth to the touch, and any texture should be uniform rather than blotchy.
How do I know if walls were properly prepared before painting?
Good interior painting preparation leaves evidence: patched holes that are sanded flush, caulk lines that are smooth, and no dust or grit under the paint. Ask what prep was included in the written scope before work starts. Afterward, look closely at repaired areas for dimples or sanding scratches showing through. Paint peeling near edges or bubbling over patches are warning signs that sanding or priming was skipped.