 How-to
7 Steps to Choose Cabinet Hardware for Painted Cabinets
Quick Summary
Choose cabinet hardware by matching its finish to your paint's undertones, then sizing pulls to each door or drawer's width and checking the center-to-center spacing before buying. Mix knobs and pulls only when they share a finish and general style. Mark placement carefully and drill through painter's tape on fully cured paint.
- Pick a finish that matches your paint's undertones, using warm metals for warm paints and cool metals for cool paints.
- Limit your kitchen to two hardware finishes so the room looks intentional.
- Size pulls to drawer width, using 3.75 inches for 12 to 18 inch drawers and 5 inches for 18 to 24 inch drawers.
- Check center-to-center spacing before buying, since mismatched holes mean drilling new holes in painted doors.
- Let paint cure fully, often several days to a few weeks, before drilling to avoid chipping and peeling.
Table of Contents
- Why Hardware Matters More on Painted Cabinets
- Step 1: Match Hardware Finishes to Your Paint Color
- Step 2: Decide Between Knobs and Pulls for Your Style
- Step 3: Pick the Right Cabinet Pull Size
- Step 4: Mix Knobs and Pulls Without Clashing
- Step 5: Plan Cabinet Hardware Placement Before You Drill
- Installing Hardware Without Damaging Painted Doors
- Booking Your Painted Cabinet Project With LMJ Bright
- Frequently Asked Questions
Why Hardware Matters More on Painted Cabinets
Hardware does more work on painted cabinets than it does on natural wood. Paint gives a kitchen a clean, uniform look, so the knobs and pulls are often the only elements that add contrast and personality. A poor choice stands out fast, while a good one ties the whole room together.
Painted surfaces also show wear differently. Every time someone grabs a knob, the hand leaves oil and small amounts of friction on the door. Over time, that can wear through paint around the mounting holes. Choosing durable hardware and installing it carefully helps protect the finish you just paid to create.
Hardware can also change the look of a kitchen. Swapping finishes or sizes can shift a room from traditional to modern without repainting a single door. This guide walks through seven steps to help you choose hardware that looks right and lasts.
Step 1: Match Hardware Finishes to Your Paint Color
Start with your paint color, because it sets the tone for everything else. Warm paint colors, like cream or greige with yellow or red undertones, pair well with brushed brass, warm bronze, or antique nickel. Cool colors, like crisp white or gray-blue, look sharp with polished chrome, brushed nickel, or matte black. See current cabinet paint color ideas to check how popular shades pair with different hardware.
Undertones matter more than the base color. A gray that leans warm may clash with cool chrome, while a gray that leans cool will look its best with it. Bring a paint sample and a few hardware samples to the store and compare them in the same light.
Best cabinet hardware finishes for painted cabinets tend to fall into a few reliable groups:
- Brushed nickel: works with most neutral and cool paints and resists fingerprints
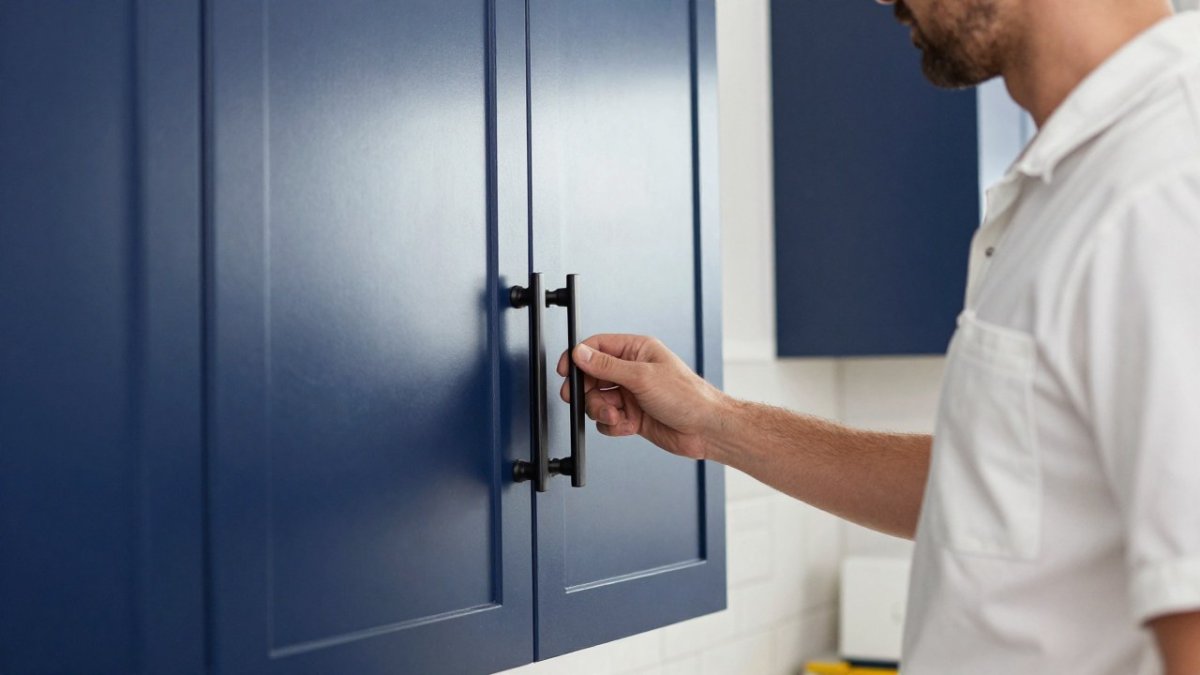
- Matte black: adds strong contrast against white, navy, or sage cabinets
- Oil-rubbed bronze: suits warm, traditional, or farmhouse styles
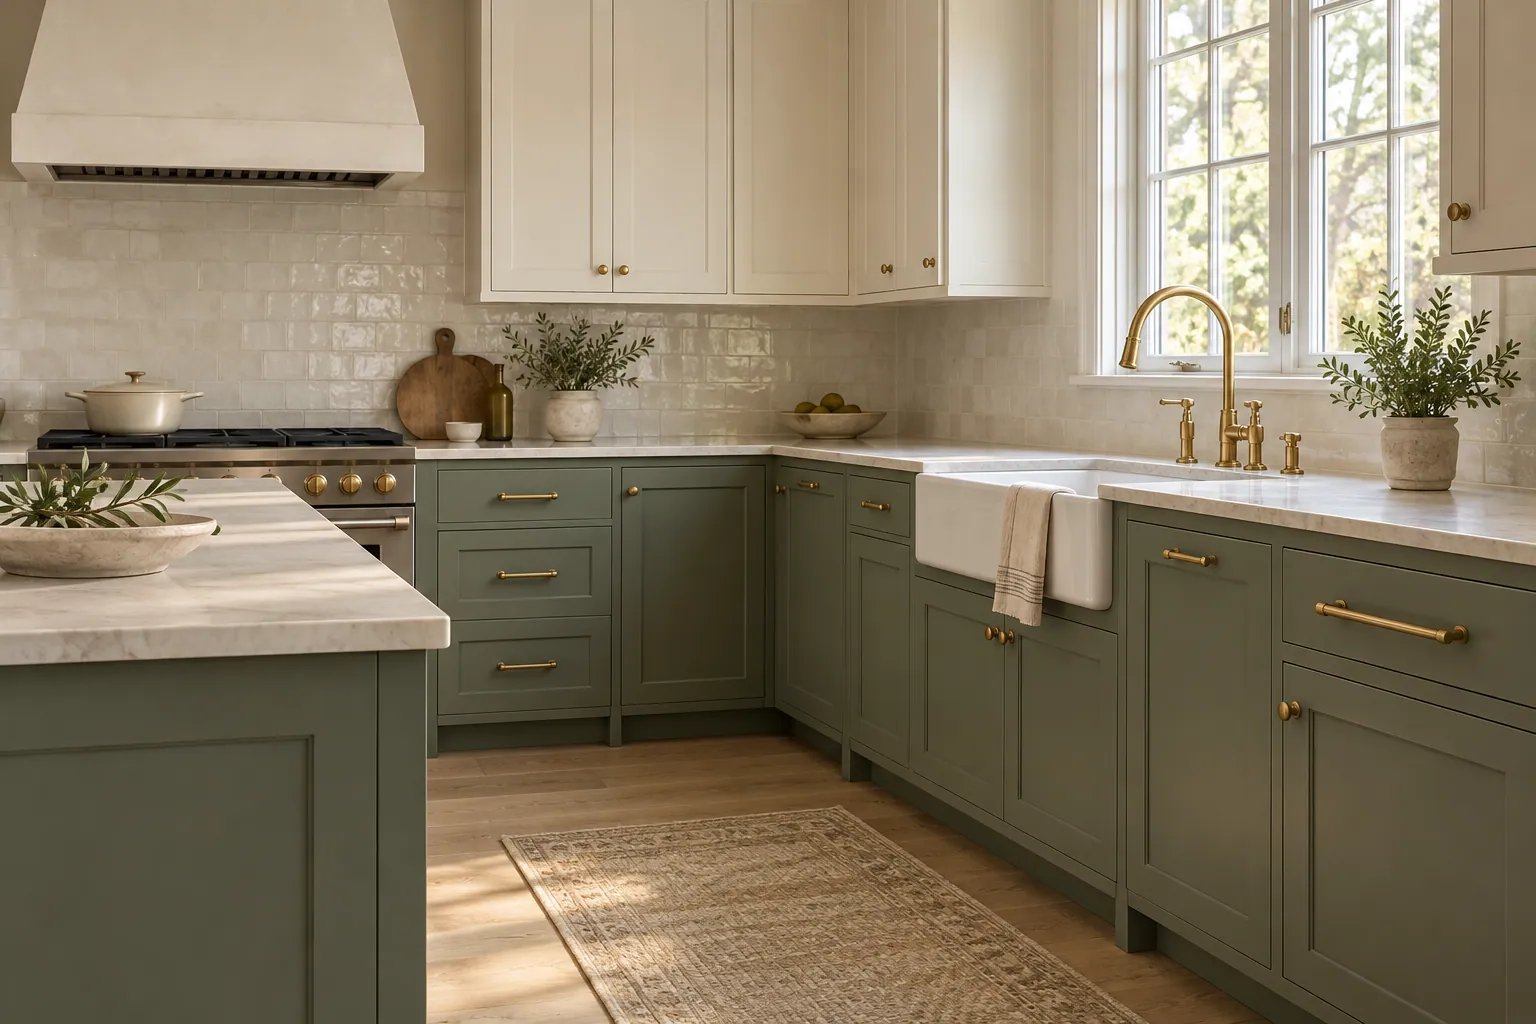
- Brushed brass: pairs well with warm whites and creamy tones
- Polished chrome: gives a bright, modern look but shows fingerprints
Watch out: Avoid mixing too many finishes in one kitchen. Two finishes at most keeps the room looking intentional.
Step 2: Decide Between Knobs and Pulls for Your Style
Knobs and pulls each suit different cabinet styles. Knobs are small and round or square, and they work well on cabinet doors. Pulls are longer bars or loops, and they fit drawers and tall doors well. Many kitchens use both.
Traditional kitchens often look best with round knobs or classic bin pulls. Modern and transitional kitchens tend to favor sleek bar pulls or minimal knobs. Shaker-style cabinets look balanced with simple knobs or slim pulls.
Think about how you use the cabinets, too. Pulls are easier to grip on large drawers and heavy doors, especially for older adults. Knobs can be fine on small doors and cabinets above the counter.
Step 3: Pick the Right Cabinet Pull Size
Size is one of the most common mistakes in cabinet hardware. A pull that looks right in a showroom can look tiny or oversized once it hangs on a real cabinet, and on painted cabinets the mismatch is more obvious because there is no wood grain to distract the eye.
Measure the door or drawer front first. Measure the door or drawer front first, then choose a pull length that looks proportional to it. The table below gives a general starting point, not a rule:
- Drawer fronts 12 to 18 inches wide: 3-inch to 3.75-inch center-to-center pull
- Drawer fronts 18 to 24 inches wide: 3.75-inch to 5-inch center-to-center pull
- Drawer fronts 24 to 30 inches wide: 5-inch to 6.25-inch center-to-center pull
- Drawer fronts 30 inches and wider: 6.25-inch to 8-inch center-to-center pull, or two smaller pulls spaced evenly
- Cabinet doors: 3-inch to 5-inch center-to-center pull, or a knob if the door is narrow
For cabinet doors, shorter pulls usually look more proportional, especially on Shaker-style doors where the pull sits on the stile. On a painted door, a pull that is too long can crowd the panel edge and make the reveal look uneven.
The key measurement is the center-to-center distance, which is the space between the two screw holes. Standard sizes include 3 inches, 3.75 inches, 5 inches, and 6.25 inches. Check this number before you buy, because replacing an existing pull with a different spacing means drilling new holes, and on a painted door, every new hole is a paint repair.
Watch out: Do not size pulls by overall length alone. Two pulls with the same overall length can have different center-to-center spacing, so a replacement may not line up with existing holes even when the new pull looks the same size.
Painted cabinets add one more sizing consideration: contrast. A matte black pull on a white door reads larger than a brushed nickel pull of the same size, because the dark shape stands out against the light paint. If you are switching to a high-contrast finish, consider sizing down one step from the table above.
Finally, think about appliance panels. Dishwasher and refrigerator panels are wider than standard drawers, and a single small pull can look lost.
The sizing ranges below summarise the starting points given in this section.
| Drawer or door width | Center-to-center pull size |
|---|---|
| 12 to 18 inches | 3 to 3.75 inches |
| 18 to 24 inches | 3.75 to 5 inches |
| 24 to 30 inches | 5 to 6.25 inches |
| 30 inches and wider | 6.25 to 8 inches, or two pulls |
| Cabinet doors | 3 to 5 inches, or a knob |
Step 4: Mix Knobs and Pulls Without Clashing
Many kitchens look best with a mix of knobs and pulls. The usual pattern is pulls on drawers and knobs on doors, or pulls on tall doors and knobs on small ones. This layout keeps the hardware consistent while giving each cabinet the right grip.
To keep the mix looking intentional, stick to one finish and one general style. A modern bar pull paired with a modern round knob looks coordinated. A vintage ornate pull paired with a sleek minimalist knob usually does not.
Mixing knobs and pulls on kitchen cabinets works best when the knobs and pulls share a common shape or edge profile. This small detail keeps the room feeling unified.
Step 5: Plan Cabinet Hardware Placement Before You Drill
Placement affects both appearance and function, and it is easy to get wrong with painted doors. Mark your positions before you touch a drill, and mark them on every door the same way so the rows line up when the cabinets are closed.
For cabinet doors, place knobs near a corner. Knobs are often placed a few inches from the top or bottom edge and a couple of inches in from the side. The exact number matters less than consistency: pick one measurement and use it on every door of the same size.
For drawers, place pulls centered on the drawer front or, on tall drawers, slightly above center. Horizontal pulls on drawers should sit parallel to the drawer edge.
Door style changes the rule. On Shaker doors, the pull sits on the stile, not the recessed panel, so the center-to-center spacing has to fit within the stile width.
Stacked cabinets and drawer banks need extra planning. When two drawers stack, center each pull on its own drawer front rather than aligning them to a single line, unless the drawer heights are equal.
Use painter's tape and a level to mark each position. Measure twice, because a hole in the wrong spot on a painted door is hard to fix cleanly.
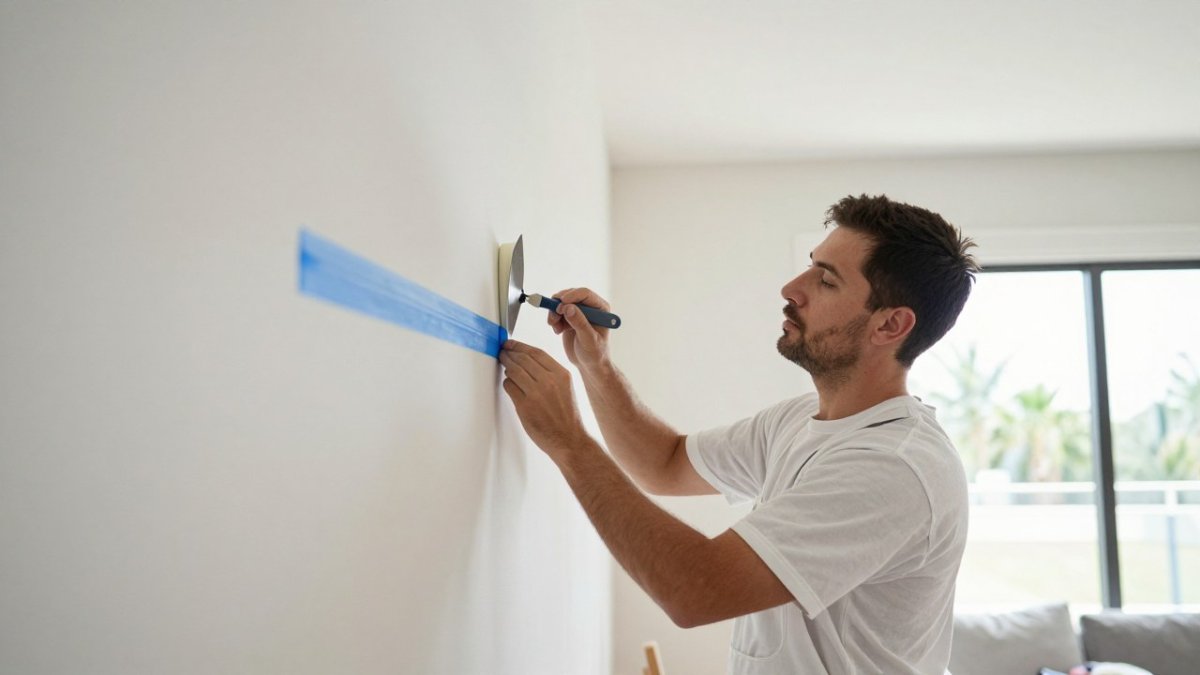
Watch out: On painted doors, drill through painter's tape and use a sharp bit with light pressure. A dull bit or too much pressure can chip the paint at the hole edge, and a chip that starts at the hole can spread into peeling over time.
Installing Hardware Without Damaging Painted Doors
Drilling into fresh paint is where most finishes get damaged. Learn how proper prep avoids chipping and peeling before you drill. Tiny chips around the holes can spread into peeling over time. Follow this step-by-step guide to preventing cabinet paint peeling around new holes.
Start by letting the paint cure fully before installation. Paint may feel dry within hours but often needs several days to a few weeks to harden completely, depending on the product and room conditions. Check your paint can for the recommended cure time.
Tape the spot where you will drill with painter's tape. Mark the holes through the tape, then drill slowly with a sharp bit. Pilot holes help keep the wood or MDF from splitting.
A common mistake is using screws that are too long. They can push through the door or bind against the cabinet frame. Use the screws that came with the hardware, and test the fit on a scrap piece if you have one.
If the paint still peels after installation, the problem is usually surface prep rather than the hardware. Explore cabinet painting services that include documented cleaning, preparation, priming and finish-coat planning. Proper surface preparation is what helps paint hold up under daily use.
Keep cleaning gentle over time. Use a soft cloth and mild soap, and avoid harsh scrubbers that can dull finishes or wear down paint around the hardware.
Booking Your Painted Cabinet Project With LMJ Bright
If you want your painted cabinets and hardware planned as one project, LMJ Bright Painting Services can help. The business is veteran-owned and focuses on clearly planned scopes, careful preparation, and transparent communication before any work begins. You can review our painting services and memberships to see the options available. Compare products and membership options with secure checkout before requesting work.
Before you book, you can build a free estimate to see what your project may involve. A written scope is provided before scheduling or payment, so you know what is included from the start.
Ready to plan your kitchen update? LMJ Bright Painting Services can help you choose the right finish and set up a clear, well-prepared project from start to finish.
Frequently Asked Questions
What hardware looks best on painted kitchen cabinets?
Hardware that contrasts with or complements the paint tends to look best on painted kitchen cabinets. Brushed nickel and matte black pair well with white and gray paint, while brass or oil-rubbed bronze suit warm cream and greige tones. Choose a finish that matches the other metals in your kitchen, such as the faucet or light fixtures, so the room feels coordinated. Test a sample on the actual painted door in your kitchen's lighting before ordering full quantities, since paint sheen and undertones can change how a finish reads.
How do you choose the right size pulls for kitchen cabinets?
Pull size is usually decided by the width of the cabinet door or drawer and the center-to-center measurement of the mounting holes. On standard doors, a pull roughly one-third to one-half the width of the door looks balanced, while wide drawers often take longer pulls. Measure the distance between the screw holes before buying, since hardware is sold by center-to-center spacing, commonly 3 inches, 96 mm, or 128 mm. Keep the same length across all cabinets in one area for a consistent look.
Can you mix knobs and pulls on kitchen cabinets?
Yes, mixing knobs and pulls is a common approach, and it works best when the finish and style stay consistent. A typical pattern uses pulls on drawers and larger doors and knobs on smaller cabinet doors or upper doors. Keep the same finish, shape family, and visual weight across both so the mix looks intentional rather than random. Avoid mixing more than two styles in one kitchen, because too many shapes can make the cabinets look cluttered.