 how-to
How to Prevent Cabinet Paint Peeling: A Step-by-Step Guide
Table of Contents
- Why Cabinet Paint Peels and How to Stop It
- How to Prep Cabinets for Painting
- Best Primer for Kitchen Cabinets
- Applying Paint and Topcoats for Lasting Adhesion
- Curing Time for Cabinet Paint: Drying vs. Full Hardening
- Common Causes of Paint Failure and How to Avoid Them
- Maintenance and Touch-Up Protocols
- Frequently Asked Questions
Last Updated: September 27, 2026
Why Cabinet Paint Peels and How to Stop It
Cabinet paint peeling occurs when the finish loses adhesion to the substrate and flakes away. It's frustrating but entirely preventable with the right approach to prevent cabinet paint peeling.
Peeling almost always traces back to inadequate surface preparation. Most homeowners and painters rush through prep work, assuming primer and paint will stick to any surface, a costly mistake when the finish fails within months or years.
The good news is straightforward. Prevent cabinet paint peeling by following a methodical prep process, choosing the right primer and paint, understanding curing time, and maintaining the finish properly. Each step builds on the previous one to create a durable, long-lasting result.
How to Prep Cabinets for Painting
Surface preparation is where cabinet painting success is won or lost. Skipping or rushing this step is the single biggest reason cabinet paint fails.
Remove Old Polish and Finish
Remove existing coatings with a deglossing product or chemical stripper. Apply per directions, let sit, then wipe away loosened finish. Repeat for heavily varnished surfaces. Let cabinets dry completely, damp surfaces trap moisture and cause adhesion failure.
Clean and Degrease Surfaces
Grease and grime prevent primer and paint from bonding. Clean all surfaces with TSP or heavy-duty degreaser, paying special attention to areas near the stove. Rinse thoroughly and dry completely before proceeding.
Sand and Scuff the Surface
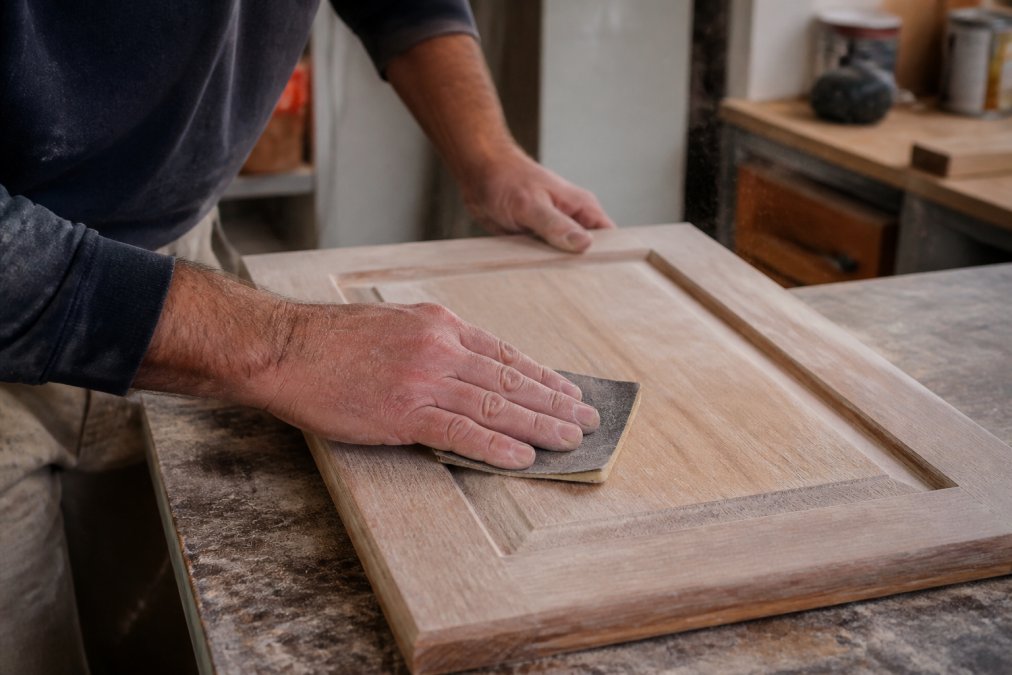
Sanding creates texture for primer and paint to grip. Use 120-150 grit for initial sanding, then 180-220 grit for final scuff sanding. Wipe with a tack cloth to remove dust, particles trapped under primer create weak spots where peeling begins.
Best Primer for Kitchen Cabinets
Primer selection determines adhesion. The right primer depends on your substrate, wood, laminate, MDF, or honey oak each require different bonding chemistry.
Understanding Substrate-Specific Bonding Requirements
Different cabinet materials have fundamentally different surface properties that affect how primer bonds:
Solid Wood and Honey Oak: Oil-based and shellac-based primers work well on wood. Honey oak risks stain bleed-through, tannins can migrate through water-based primers and discolor the topcoat. Use stain-blocking shellac or oil-based bonding primer on honey oak, or apply water-based primer in two coats.
Laminate and Melamine: These non-porous, glossy plastic surfaces have no tooth for standard primers to grip. Bonding primers use special resins to chemically bond to plastic. Standard primer on laminate guarantees peeling within 6-12 months. Always use bonding primer labeled for laminate, melamine, or plastic surfaces.
Medium-Density Fiberboard (MDF): MDF absorbs moisture readily, causing swelling and paint failure. Use oil-based primer to seal moisture penetration effectively. If using water-based primer, apply two coats. After priming, sand lightly with 220-grit paper to remove raised fibers.
Shellac-Based vs. Bonding Primers
Shellac-based primers seal stains and odors effectively but are less effective on plastic surfaces. Bonding primers are formulated to grip slick surfaces like laminate and melamine. For laminate or melamine cabinets, bonding primer is non-negotiable. Choose bonding primer for laminate, melamine, honey oak, or previously painted cabinets. Use shellac-based primer for heavy stains or odors on solid wood.
Oil-Based vs. Water-Based Options
Oil-based primers penetrate wood deeply and seal moisture effectively, critical in kitchens. They take longer to dry (4-8 hours) but excel at preventing peeling on bare wood, stripped surfaces, and MDF. Water-based primers dry faster but don't grip difficult substrates as aggressively. For cabinets, oil-based bonding primers generally outperform water-based versions. When in doubt on difficult substrates, choose oil-based.
Applying Paint and Topcoats for Lasting Adhesion
Paint application technique directly affects adhesion and durability. Poor application leads to peeling, chipping, and uneven finish.
Thin, Even Coats vs. Heavy Application
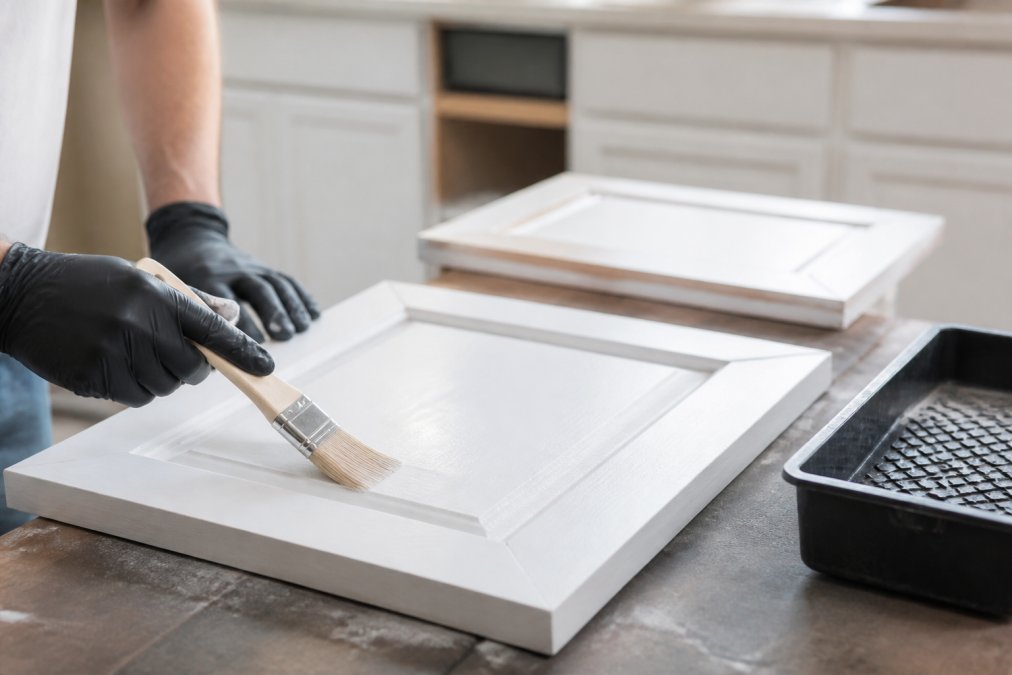
Apply thin, even coats instead of thick ones. Two or three thin coats outperform one thick coat, they dry faster, cure completely, and adhere better. Let each coat dry fully before applying the next per manufacturer recommendations.
Choosing Enamel or Acrylic Paint
Enamel paint provides superior durability and moisture resistance, ideal for kitchen cabinets. Acrylic dries faster but doesn't match enamel's durability in high-moisture environments. For cabinet paint peeling prevention, enamel is the superior choice.
| Application Element | Thin Coats | Heavy Coats |
|---|---|---|
| Drying time | Faster | Slower |
| Adhesion | Superior | Poor |
| Durability | Excellent | Prone to peeling |
| Number needed | 2-3 | 1-2 attempted |
| Sag/run risk | Minimal | High |
Curing Time for Cabinet Paint: Drying vs. Full Hardening
Drying time (paint feels dry to touch) differs from curing time (paint reaches full hardness), typically 7-30 days. Many homeowners use cabinets before curing is complete, causing peeling and adhesion failure. For enamel, expect 7-14 days before normal use and 21-30 days for full hardness. Avoid moisture, heat, and impact during curing. Maintain 50-85°F and 30-50% humidity for optimal results.
Common Causes of Paint Failure and How to Avoid Them
Understanding why cabinet paint fails helps you prevent it. However, the cause of peeling differs significantly depending on your cabinet substrate. Diagnosing the root cause is essential to choosing the right prevention strategy.
Moisture, Humidity, and Environmental Factors
Moisture is the primary enemy of cabinet paint adhesion. On solid wood, moisture causes expansion and contraction, cracking paint if not flexible enough. On laminate and MDF, moisture penetrates seams and edges, causing substrate swelling and paint lifting. On honey oak, moisture reactivates tannins, causing staining or adhesion failure without stain-blocking primer. Kitchen cabinets constantly face moisture from cooking and humidity.
Prevent moisture-related peeling by: ensuring cabinets are completely dry before priming (moisture content below 12%), using moisture-resistant primer and enamel, maintaining 30-50% humidity during application and curing, allowing full curing time (21-30 days for enamel), sealing gaps and joints with caulk before priming, and using a dehumidifier if humidity exceeds 60%.
Substrate Issues and Problem Surfaces: Substrate-Specific Troubleshooting
Laminate, melamine, MDF, and glossy wood surfaces present adhesion challenges that standard primer cannot overcome. Each substrate fails for a different reason, and each requires a different prevention strategy.
Laminate and Melamine Peeling: Laminate has no tooth for paint to grip. Standard primer will peel because it cannot bond to plastic. Use bonding primer specifically formulated for laminate or melamine. Scuff with 120-150 grit sandpaper before priming to break gloss and improve mechanical adhesion. Degrease thoroughly with TSP. Properly prepped laminate cabinets last 5+ years; standard primer fails within 6-12 months.
Honey Oak and Wood Stain Bleed-Through: Honey oak and other stained wood can bleed tannins through paint if not sealed properly. This appears as brown or orange discoloration bleeding through the topcoat, often accompanied by adhesion failure because the tannin layer prevents primer from bonding to the wood. The solution is a stain-blocking primer. Shellac-based primers are the most effective stain blockers because shellac resin seals tannins completely. Oil-based bonding primers also block stains effectively. Water-based primers do not block stains well on honey oak, if you use water-based primer, apply two coats and allow extra drying time between coats. After stain-blocking primer, sand lightly with 220-grit paper and apply quality enamel topcoat.
Maintenance and Touch-Up Protocols
Proper maintenance extends cabinet paint life and prevents minor damage from becoming major peeling problems.
Frequently Asked Questions
What type of paint is best for kitchen cabinets that won't peel?
Cabinet-grade enamel paint offers superior adhesion and durability compared to standard wall paint. Oil-based enamels provide excellent hardness and moisture resistance, while water-based acrylics dry faster with lower odor. The key to preventing peeling is not just the paint type, but also proper surface preparation and primer selection. A bonding primer underneath creates the foundation that prevents peeling regardless of whether you choose oil or water-based topcoats.
How long should you wait before using cabinets after painting?
Most cabinet paints feel dry to the touch within 4-8 hours, but full curing takes much longer. Oil-based enamel typically requires 7-14 days of curing before cabinets can handle regular use without risk of damage. Water-based options cure faster, usually within 3-7 days. However, you should avoid placing heavy items or exposing painted cabinets to moisture during this entire curing period. Patience during curing time directly prevents peeling and chipping later.
Does sanding prevent cabinet paint from peeling?
Yes, sanding is essential to preventing peeling. Scuff sanding the existing surface creates a mechanical bond that allows primer and paint to grip properly. Without this step, paint sits on top of a smooth, glossy surface and eventually peels away. Use 120-150 grit sandpaper to degloss the finish, then wipe with a tack cloth to remove dust before priming. This single preparation step dramatically improves adhesion and durability.
What can I put over painted cabinets to prevent chipping?
A clear protective topcoat or polyurethane adds an extra layer of durability over your painted finish. Water-based polyurethane is popular because it doesn't yellow over time, while oil-based polyurethane offers stronger protection but may amber slightly. Some cabinet paints already include built-in durability, so check your paint specifications before adding a separate topcoat. The real prevention comes from proper curing time and avoiding moisture exposure before the paint fully hardens.