 How-to
How to Spot Poor Surface Preparation Before You Paint
Last Updated: October 23, 2026
Quick Summary
You can spot poor surface preparation in about ten minutes with a flashlight, a damp cloth, and your hand. Run your palm along the wall for grit and ridges, wipe a small area to check for chalky or greasy residue, and inspect corners, outlets, cabinets, and caulk lines for peeling, blistering, or paint on hardware.
- Inspect walls twice: in low morning sunlight and at night with a flashlight held parallel to the wall.
- Peeling at corners and edges points to skipped sanding or priming, where the paint film is thinnest.
- Blistering or rough cabinet fronts mean grease was left on the surface before painting.
- Cracks along caulk beads within months usually mean wet caulk was painted over.
- Ask for the prep steps in writing, since prep that isn't scoped won't be done.
Table of Contents
- Why Surface Preparation Decides Whether a Paint Job Lasts
- Signs of a Poor Paint Job: What to Look For Before and After
- How to Prepare Walls for Painting: The Steps a Crew Should Follow
- Interior Painting Preparation Checklist for Homeowners
- How to Inspect a Paint Job at Every Stage
- How to Spot Poor Surface Preparation in Your Own Home
- When Preparation Falls Short: What to Ask Your Painter
- Frequently Asked Questions
Why Surface Preparation Decides Whether a Paint Job Lasts
Surface preparation is the work done to a wall before the first coat goes on: cleaning, sanding, patching, priming, and sealing.
Paint is a thin film. The U.S. General Services Administration painting standards treat surface prep as a required phase in any durable coating job, not an optional extra.
That is why the question is not "how much does a painter charge." It is "how much prep is included."
Signs of a Poor Paint Job: What to Look For Before and After
The signs of poor paint job quality fall into two groups: things you can see now, and things that show up months later. Most homeowners only learn to read the second group after it is too late.
Visible Clues on Walls, Trim, and Cabinets
Walk the room with good light and check for these:
- Rough texture under the paint. You can feel ridges, grit, or old bumps through the finish.
- Paint over caulk cracks. Fresh caulk painted the same day will crack within weeks.
- Paint on hardware. Hinges, outlets, and light plates should be taped off, not painted around.
Problems That Show Up Months Later
Some failures take a season to appear. Watch for:
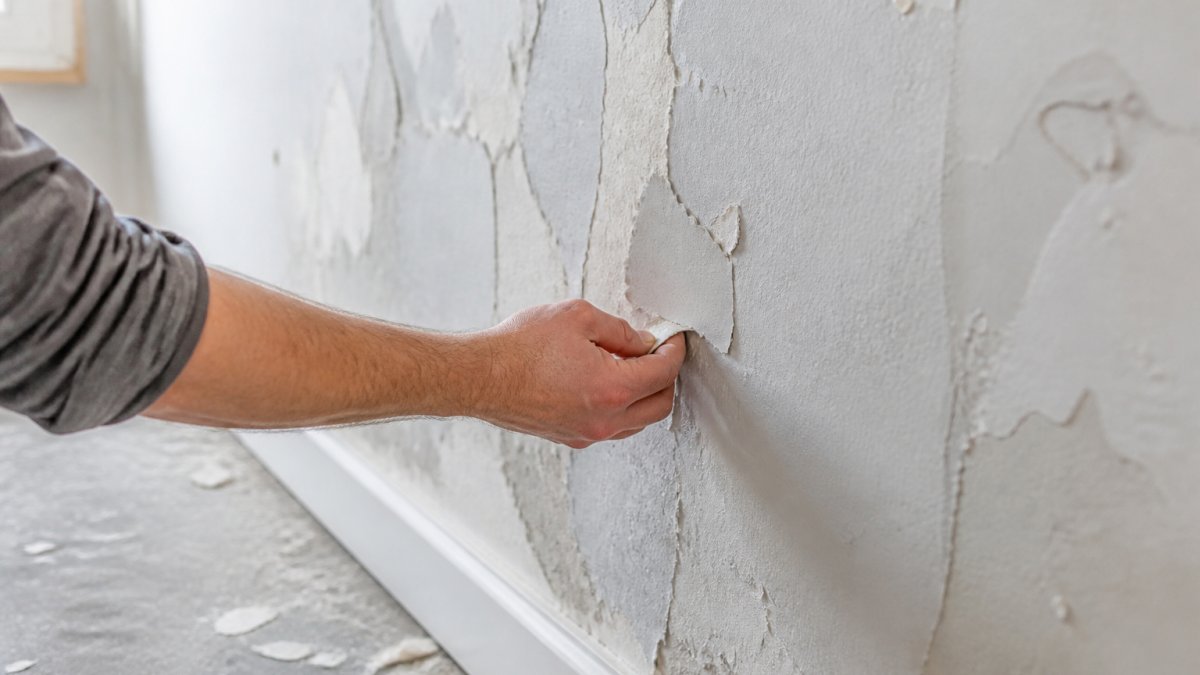
- Peeling near edges and corners. This usually means the surface was not sanded or primed.
- Blistering on cabinets. Grease and oils left on kitchen cabinets stop paint from bonding.
- Paint lifting around caulk lines and trim. A sign the wrong caulk or primer was used.
How to Prepare Walls for Painting: The Steps a Crew Should Follow
A proper prep sequence is not glamorous, but it is predictable. The order matters because each step protects the next one: wash before you sand so you don't grind grit into the surface, patch before you prime so the primer seals the repair, and caulk before the topcoat so the paint bridges the gap instead of cracking over it. You can read the full breakdown in our guide on how to prepare walls for interior painting.
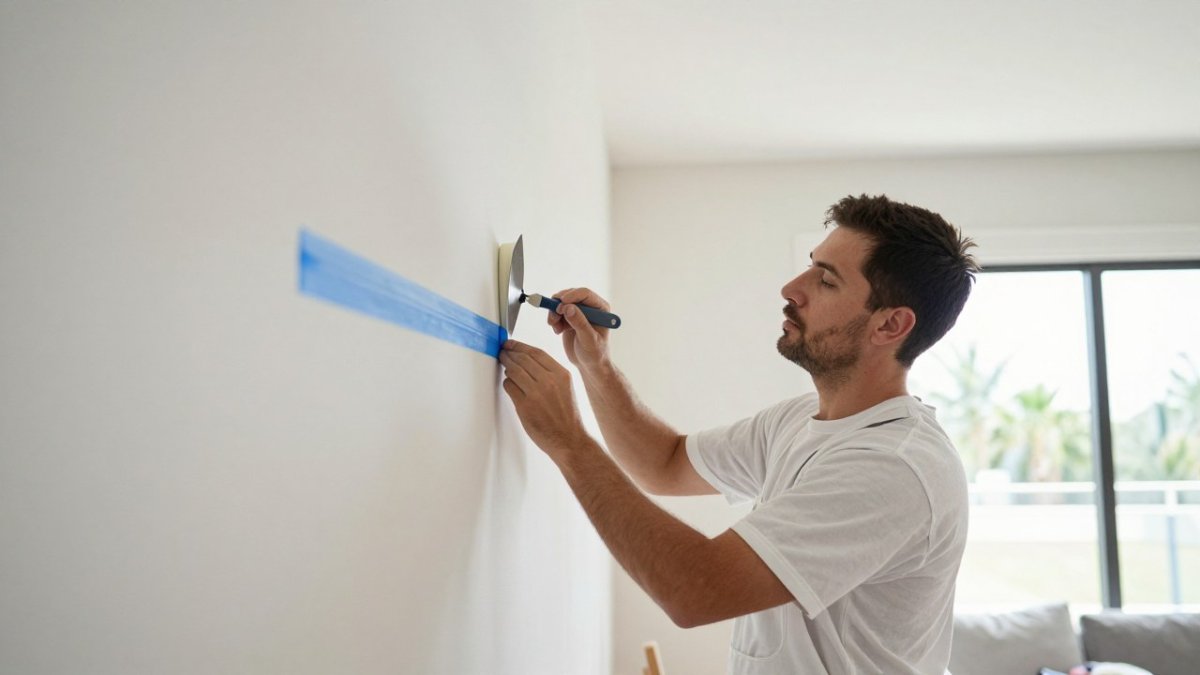
- Clear and protect. Move furniture to the center of the room, cover floors with canvas or rosin paper (not thin plastic, which tears and slides), and tape off trim, outlets, and fixtures with painter's tape. Skipping this step shows up later as paint on hardware and dust in the finish.
- Wash the surface. Kitchen and bath walls need a degreaser because cooking oils and soap scum form an invisible film that blocks adhesion; all walls need dust removal with a damp cloth or a vacuum fitted with a brush attachment. A common pattern is peeling that starts in a ring around the stove or above a shower because the wash step was rushed.
- Repair damage. Fill nail holes with lightweight spackle, patch cracks with joint compound, and sand everything flush with the surrounding wall. Dimples and ridges telegraph through the topcoat, especially under raking light.
- Sand for grip. Scuff glossy surfaces with 120- to 150-grit paper and feather rough edges smooth. Paint needs a mechanical tooth to bond; a glossy surface without scuffing is a common cause of peeling near edges and corners.
- Caulk gaps. Re-caulk trim lines, baseboards, and window casings with a paintable latex caulk, then let it cure per the label before painting. Painting over wet caulk traps solvent and causes the bead to crack within weeks.
- Prime bare spots. Patches, bare wood, and any sanded-through areas need primer, not just paint. Primer seals the porous repair so the topcoat builds an even sheen; skipping it leaves dull patches that show through.
- Spot-check before the topcoat. Hold a flashlight at a low angle against the wall and look for ridges, dimples, and sanding scratches. Flaws that look invisible in normal light jump out in raking light, and this is the last chance to fix them before paint locks them in.
Two environmental factors change this sequence more than most homeowners expect. First, lighting and orientation: a wall that faces a window gets raking light for part of the day, which exaggerates every flaw, so inspect those walls more closely and consider a skim coat if the texture is rough. Second, moisture and climate: in humid rooms or in homes with a history of mildew, prep must include a mildewcide wash and a stain-blocking primer, because painting over damp or contaminated drywall traps moisture and the growth returns.
Interior Painting Preparation Checklist for Homeowners
Use this interior painting preparation checklist to judge whether a crew is doing the work or rushing it. If you cannot answer yes to most of these, ask why.
- Furniture moved and floors covered
- Walls washed and degreased
- Nail holes and cracks filled and sanded
How to Inspect a Paint Job at Every Stage
You do not need a paint background to inspect a job. You need a flashlight, a critical eye, and a walk-through at three points. Knowing what a proper estimate includes helps you judge whether prep was scoped and priced honestly, which you can check against our guide on what's included in interior painting estimates.
What to Check Before, During, and After the Work
| Stage | What to Check | Why It Matters |
|---|---|---|
| Before work | Written scope lists prep steps | Prep that isn't scoped won't be done |
| During work | Walls washed, holes filled, trim taped | These steps are hard to verify later |
| Before topcoat | Raking-light check on patches | Flaws show after paint, not before |
| After work | Even sheen, clean edges, no drips | Uneven sheen signals thin or rushed coats |
| Weeks later | Edges, caulk lines, cabinet fronts | Early peeling means prep was skipped |
Hold the flashlight at a low angle against the wall. Flaws that look invisible in normal light jump out in raking light. Check one wall in each room this way before you sign off.
How to Spot Poor Surface Preparation in Your Own Home
You can spot poor surface preparation in about ten minutes with three tools: a flashlight, a damp cloth, and your hand. But the timing and the light matter as much as the tools. Most prep failures are invisible in flat overhead light and obvious in raking light, so do this walkthrough twice: once in the morning when sunlight comes through the windows at a low angle, and once at night with the flashlight held parallel to the wall. The low-angle light exaggerates ridges, dimples, and sanding scratches the way a topcoat will.
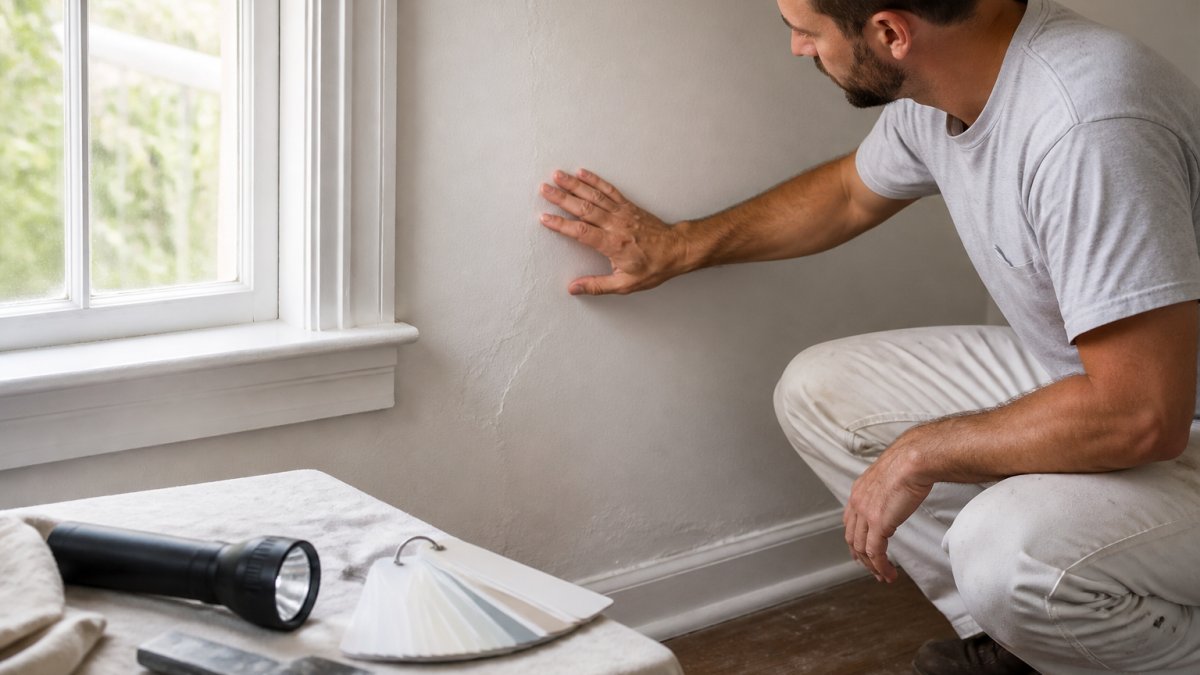
Start with your hand. Run your palm along the wall in a slow S-pattern. Grit, ridges, and bumps mean the surface was not sanded smooth, and a gritty feel under paint usually means dust was left on the wall before the topcoat.
Then check the details, and pay attention to where the flaw sits, because location tells you which prep step failed:
- Corners and edges. Peeling or lifting here points to skipped sanding or priming, because edges are where paint film is thinnest and where adhesion is tested first.
- Around outlets and trim. Paint bleeding onto hardware means taping was skipped, and a hard paint line over caulk means the caulk was painted before it cured.
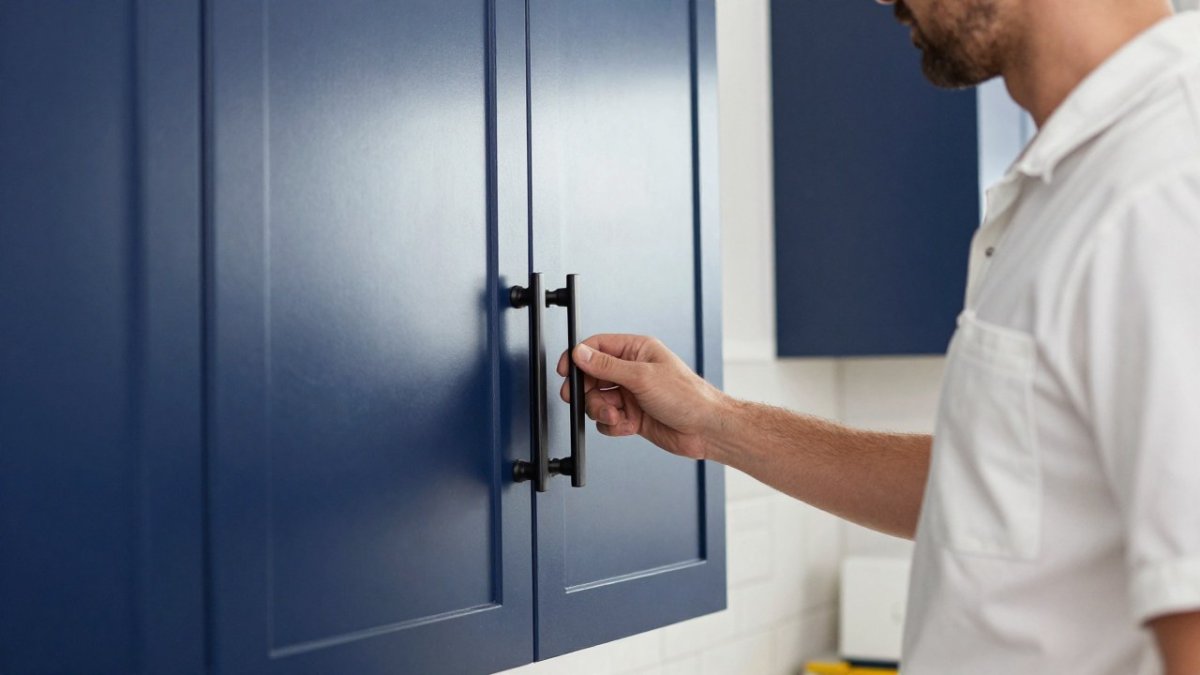
- Cabinet fronts. Rough texture or blistering means grease was left on the surface; cabinet prep is the most commonly rushed step because degreasing and sanding take time.
Finally, think about the room's environment. A bathroom or kitchen with a history of mildew that shows new growth within a season is telling you the prep did not include a mildewcide wash or a stain-blocking primer.
When Preparation Falls Short: What to Ask Your Painter
Ask direct questions and listen for specific answers. Vague replies are a red flag. You can compare what you hear against published surface preparation standards for painting contractors before you commit.
Questions worth asking:
- What prep steps are in my written scope? Ask for the list, not a verbal summary.
- Will you wash and degrease the walls? Kitchens and baths especially.
- How do you handle cabinets? Proper cabinet prep includes degreasing and sanding.
- Who does the work? Ask if the same crew preps and paints, or if it is passed to a subcontractor.
- What happens if you find hidden damage? Get the process in writing before work starts.
If the answers are shaky, or prep concerns make you consider a different crew, you can review our interior painting services and how a project starts.
A paint job only looks as good as the surface under it. Get started with LMJ Bright Painting Services and tell us what you would like painted to build a free estimate.
Frequently Asked Questions
What are the signs of poor surface preparation before painting?
Look for chalky residue, glossy patches that were never scuffed, visible dust in corners, and caulk lines that were painted over instead of smoothed. Run your hand along the wall: grit or bumps mean the surface was not sanded or wiped down. Check that nail holes and dents were filled and sanded flush. Also confirm the painter primed bare drywall, patched areas, and any knots, because skipping primer is one of the clearest signs that surface preparation was rushed.
How can you tell if a wall was properly prepared for painting?
A properly prepared wall feels smooth and slightly dull, not slick or chalky. There should be no visible dust in corners or along the baseboard, and patched areas should be flush with the surrounding wall. Primer should be visible on bare spots and repairs before the finish coat goes on. If you press painter's tape to the wall and it lifts a patch of paint easily, the surface was likely not cleaned or sanded before coating.
What happens when you paint over dirt or grease?
Paint cannot bond to dirt, grease, or soap film. Instead of adhering to the wall, it sits on top of the contamination and forms a weak layer. Within months, you may see peeling, blistering, or paint that flakes off in sheets when touched. Kitchen walls and areas near light switches are the most common trouble spots. Cleaning with a degreaser and rinsing before painting is a basic step that should never be skipped.
Why is paint peeling after a new paint job?
Peeling after a fresh paint job usually points to a preparation failure: painting over dust, grease, or a glossy surface that was never sanded, or applying a topcoat over an incompatible or unprimed layer. Moisture trapped behind the paint, common in bathrooms and kitchens, can also cause peeling. If peeling appears within a year, ask the painter to explain what cleaning, sanding, and priming steps were taken before the first coat went on.