 How-to
How to Prepare Walls for Interior Painting: Step by Step
Table of Contents
- Assess Your Walls and Identify Surface Problems
- How to Clean Walls Before Painting
- How to Repair Holes in Walls Before Painting
- Sand and Smooth Rough Patches and Repaired Areas
- Wall Preparation Tools for Painting and Materials Checklist
- Protect Floors, Furniture, and Fixtures Before Painting
- How to Prime Walls Before Painting
- Common Mistakes to Avoid During Wall Preparation
- Frequently Asked Questions
Last Updated: October 14, 2026
Assess Your Walls and Identify Surface Problems
Before painting, learning how to prepare walls for interior painting step by step starts with examining walls for damage, stains, and repairs needed. This determines your prep steps and time budget.
Walk the room in good lighting (natural daylight is best) and look for:
- Cracks and holes in drywall or plaster
- Peeling or loose paint
- Water stains or discoloration from past moisture
- Mold or mildew (dark spots or fuzzy growth)
- Rough patches
- Dents and dings from furniture or impact
- Nail holes from artwork or fixtures
Check windows, doors, and baseboards first, they show wear earliest. Run your hand along the wall for rough texture or flaking paint.
If you spot mold or mildew, address it before painting, it signals moisture that won't disappear under paint. Consult local health guidelines or a professional.
At LMJ Bright Painting Services, we assess walls thoroughly before quoting any project, preventing surprises and ensuring the final paint job lasts.
How to Clean Walls Before Painting
Clean walls are essential for adhesion. Dust, dirt, grease, and grime prevent bonding, causing peeling, flashing, and poor coverage.
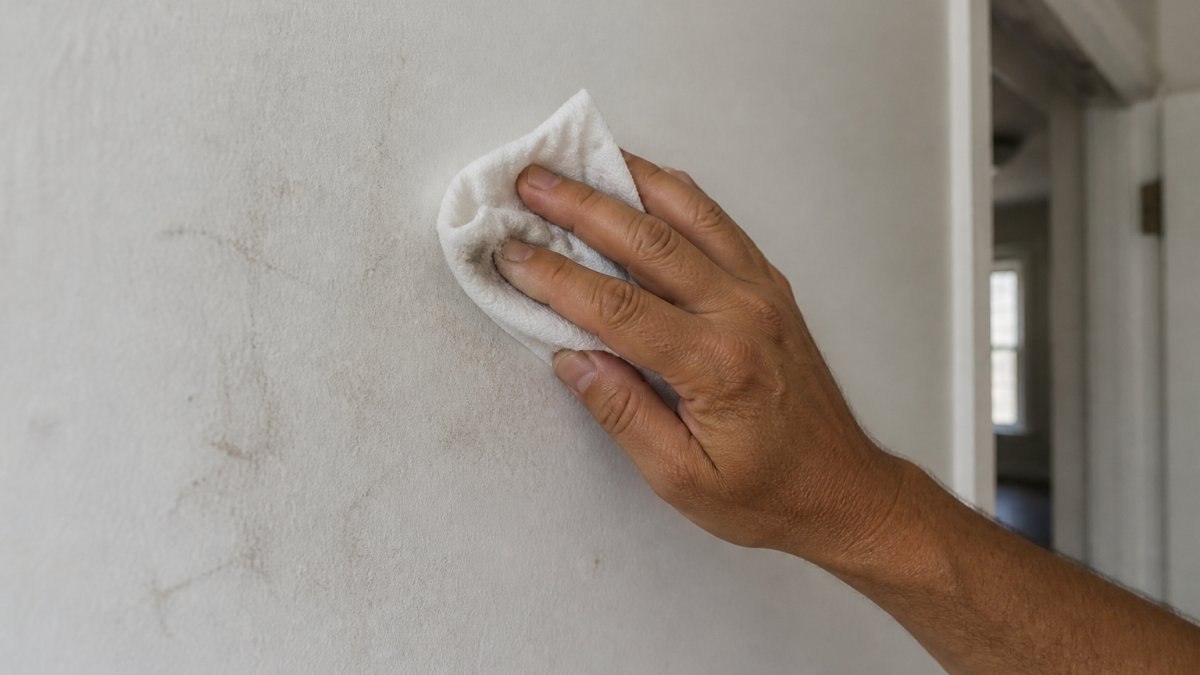
Step 1: Dry-clean the whole wall first
Use a soft brush, vacuum brush attachment, or dry microfiber cloth to remove loose dust, cobwebs, and grit. Work top down. Pay attention to door casings, crown molding, and the strip above baseboards.
Step 2: Match the cleaner to the soil and the wall
Not every wall needs the same cleaner. Using the wrong one can dull a finish, leave residue, or damage the substrate.
- Dust and light grime: Warm water with a few drops of mild dish soap (about one teaspoon per gallon).
- Kitchen grease: A degreasing dish soap or diluted TSP substitute. TSP works but is restricted in some states and needs gloves and ventilation; a phosphate-free substitute is safer.
- Bathroom or high-humidity walls: A diluted all-purpose cleaner or mild bleach solution (1 part bleach to 10 parts water). Never mix bleach with ammonia or vinegar cleaners.
- Previously painted walls in good condition: A pH-neutral wall cleaner avoids dulling the finish.
- Fresh drywall or bare joint compound: Wipe with a dry cloth only, moisture can soften the paper facing.
- Plaster walls: Use minimal water. Older plaster is porous and can crumble or stain if soaked.
Step 3: Wash in sections, then rinse
Work in 4-by-4-foot sections so cleaner doesn't dry before rinsing. Use a sponge or soft cloth and change the water when cloudy. Focus on:
- Baseboards and corners
- Light switches and outlets (hand oils)
- Visible dirt or stains
- Kitchen walls with grease buildup
- Areas with pet, child, or smoker residue
Rinse thoroughly with clean water and a separate cloth, soap residue interferes with adhesion and can cause beading or peeling.
Step 4: Confirm the wall is actually dry before moving on
"Dry to the touch" isn't dry enough, trapped moisture under primer or paint causes blistering and poor adhesion.
A practical readiness check:
- Press a dry paper towel against the wall in a few spots. If it comes away damp or cool, wait longer.
- Check in raking light (flashlight at a low angle), damp patches read darker.
- In humid conditions, run a fan or open windows. A typical wall dries in 2 to 4 hours indoors, longer in a bathroom or basement.
Once the wall is clean, dry, and residue-free, move on to repairs.
How to Repair Holes in Walls Before Painting
Small holes and damage need patching before painting, but the method depends on wall material and previous finish. A drywall patch on plaster, or spackle over water damage, fails within a season.
First, identify what you're repairing
- Drywall (sheetrock): Paper-faced gypsum panels, common in homes built or remodeled after the 1940s. Repairs with spackle, joint compound, and mesh or paper tape.
- Plaster: A hard, mineral-based coat over wood lath or gypsum board, common in older homes. Needs a stiffer filler.
- Previously painted walls: The repair bonds to paint, not bare substrate, changing prep and primer choice.
Safety stop-work criteria
Before patching, check for these conditions. If present, stop and get professional guidance.
- Lead paint: Homes built before 1978 may have lead-based paint (the EPA). Sanding or scraping releases hazardous dust, especially for children and pregnant women. The U.S. Environmental Protection Agency (EPA) requires lead-safe work practices for renovation, repair, and painting in pre-1978 housing (the EPA). Do not dry-sand or dry-scrape suspected lead paint. Use a certified renovator or test first.
- Mold: Dark spots, fuzzy growth, or a persistent musty smell mean moisture is present. Painting over mold doesn't kill it. Fix the water source, then treat the area.
- Water damage: Soft, crumbly drywall, bubbling paint, or a returning stain indicates an active leak. Repair the source first, patching over wet substrate guarantees failure.
Repairing drywall holes
Nail holes and small dents (under 1/4 inch): Use lightweight spackling paste with a 2- to 3-inch putty knife, pressing it into the hole. Overfill slightly, drag flat to level, let dry, then sand smooth.
Medium holes (1/2 inch to 6 inches): Use joint compound and either self-adhesive mesh tape or paper drywall tape.
- Apply a thin bed coat of joint compound over the hole.
- Press the tape into the compound and smooth flat.
- Apply a second coat, feathering edges outward 6 to 8 inches so the patch blends in.
- After drying, apply a third, wider coat if needed, then sand.
Large holes (over 6 inches): Cut drywall to fit and screw it to the framing, or use a California patch (a drywall plug held with joint compound and tape). Call a professional if you're not comfortable cutting and fitting drywall.
Repairing plaster cracks and holes
Plaster is harder and less flexible than drywall, and cracks reopen if underlying movement isn't addressed.
- Hairline cracks: Widen slightly with a putty knife so filler grips, then fill with paintable latex or acrylic caulk, which flexes and resists reopening.
- Wider cracks: Use plaster repair compound or patching plaster. Press in with a putty knife, smooth level, and cure fully, often 24 hours or more.
- Holes in plaster: Clean out loose material, mist edges with water for bonding, then fill in thin layers. Thick layers shrink and crack.
Repairing previously painted surfaces
When patching over paint, the filler bonds to paint, not the wall, a weaker bond, so prep matters more.
- Scuff lightly with 120-grit sandpaper so filler has grip.
- Remove flaking or loose paint first, filler over unstable paint pops off.
- Use a primer compatible with both filler and existing finish. Shellac- or oil-based primer is safe over unknown or glossy finishes.
Choosing the right filler
- Lightweight spackle: Fast-drying, easy to sand, best for small holes and dents. Not for large or structural repairs.
- Joint compound (all-purpose): Stronger, sands well, good for drywall patches of any size. Comes pre-mixed or setting-type (powder); setting-type is harder and shrinks less.
- Plaster repair compound: Formulated for plaster walls. Harder finish, longer cure.
- Paintable caulk: Best for cracks that move, like seams and corners.
After the repair
Let every patch dry completely before sanding, damp filler clogs sandpaper and smears. Once dry, sand smooth, wipe away dust, and spot-prime before painting. Unprimed patches absorb paint differently and show as dull or flashing spots.
Repair all damaged areas before moving forward, proper patching prevents paint from highlighting flaws.
Sand and Smooth Rough Patches and Repaired Areas
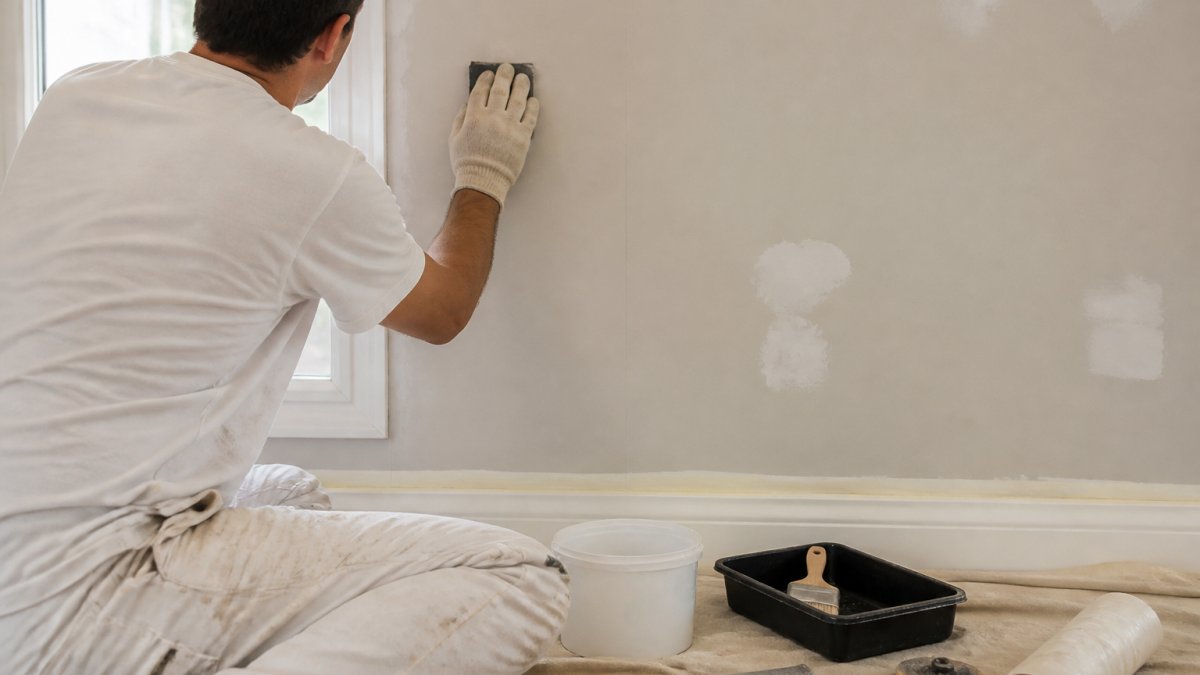
After repairs dry, sand all patched areas smooth to remove bumps and blend with the surrounding wall.
Use 120-150 grit sandpaper for most repairs. Sand gently in circular motions until the patch feels smooth and level.
Wipe away sanding dust with a damp cloth and let the wall dry.
For rough texture not from repairs, light sanding may help, test a small area first. Some textured finishes are intentional and shouldn't be sanded.
Sand areas of loose or peeling paint too. Scrape loose paint, then sand edges smooth so new paint adheres. The goal is a clean, sound surface with no loose material.
Wall Preparation Tools for Painting and Materials Checklist
Proper tools make wall preparation faster. Gather these before starting:
Cleaning supplies:
- Soft-bristled brush or dry cloth
- Sponges or soft cloths
- Bucket for water
- Mild dish soap or wall cleaner
- Towels for drying
Repair and sanding supplies:
- Spackling paste or joint compound
- Putty knife (2-3 inch blade)
- Drywall patch tape (for larger holes)
- Paintable caulk (for cracks)
- Sandpaper (120-150 grit, 220 grit for final smoothing)
- Sanding block (makes sanding easier and more even)
Protection and prep:
- Drop cloths or plastic sheeting
- Painter's tape
- Masking tape
- Old sheets or blankets to cover furniture
Other essentials:
- Ladder or step stool
- Flashlight or work light (for inspecting walls)
- Safety glasses
- Dust mask (especially when sanding)
Having everything ready prevents interruptions. At LMJ Bright Painting Services, we emphasize preparation because it directly affects your final result.
Protect Floors, Furniture, and Fixtures Before Painting
Protection prevents costly damage and cleanup headaches. Cover everything you don't want paint on before starting.
Lay drop cloths on the floor, extending several feet from the walls. Canvas is safer than slippery plastic.
Move furniture away from walls or to the room's center, and cover large pieces with old sheets or plastic.
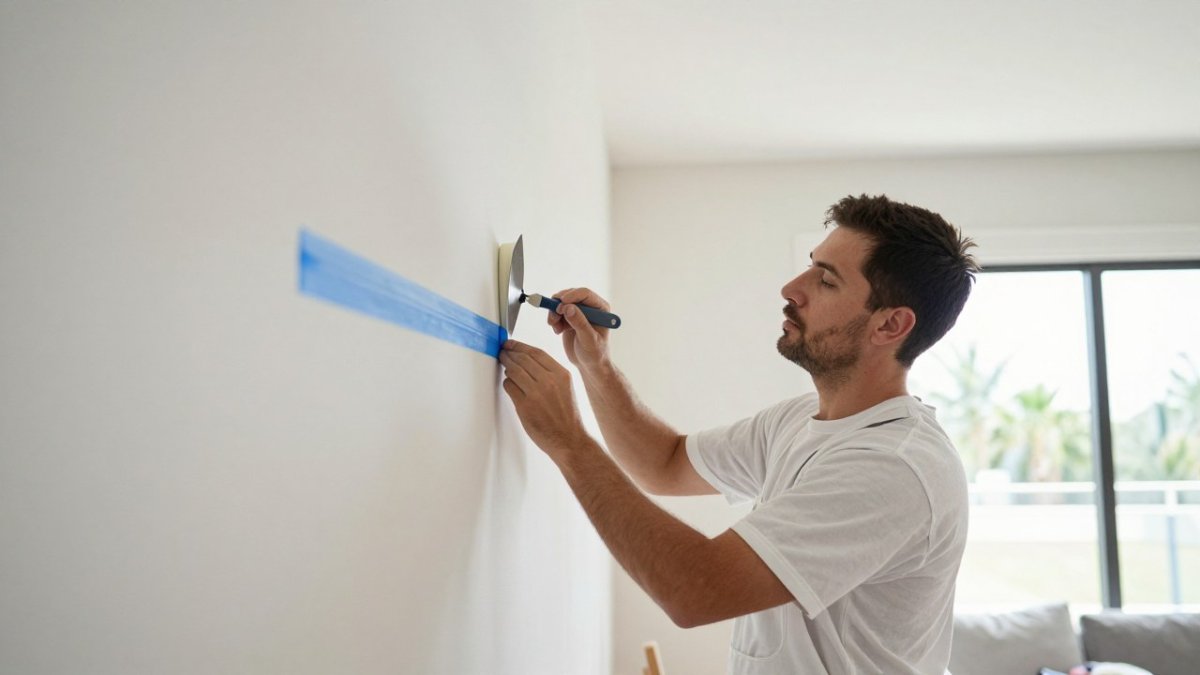
Tape around baseboards, ceiling edges, and trim. Use painter's tape, which removes cleanly without damaging finishes.
Cover light fixtures and ceiling fans with taped plastic bags. Protect doorways with plastic sheeting when working in multiple rooms.
A few extra minutes on protection prevents hours of cleanup later.
How to Prime Walls Before Painting
Primer seals the wall and helps paint adhere, especially when covering stains, repairs, or dark colors with lighter paint.
Use primer on:
- Patched or repaired areas
- Walls with water stains or discoloration
- Previously painted walls in poor condition
- Any surface that's porous or uneven
- When changing paint color dramatically
Apply primer with a brush or roller, using the same technique as paint. Let it dry completely per instructions, most primers dry in 1-3 hours.
Spot-prime small repairs; prime the entire wall for poor condition or stains.
Common Mistakes to Avoid During Wall Preparation
Skipping or rushing wall preparation is the biggest mistake homeowners make.
Don't skip cleaning. Dust and dirt prevent bonding, even "clean-looking" walls benefit from a wash.
Don't leave loose paint. Scrape all peeling or flaking paint before priming, paint won't stick to unstable surfaces.
Don't ignore damage. Small holes and cracks become obvious once painted. Patch everything before painting.
Don't rush drying times.
Don't skip protection. Drips on floors and furniture create expensive cleanup, drop cloths and tape prevent it.
Don't use the wrong grit.
Don't paint over mold or mildew, it grows back under paint. Fix moisture problems first.
Understanding how to prepare walls for interior painting step by step is the foundation of any successful interior painting project.
Frequently Asked Questions
Do you need to sand walls before painting?
Yes, sanding is essential for wall preparation. It removes loose paint, smooths rough patches, and helps the new paint adhere properly. Use 120-150 grit sandpaper for most repairs and 180-220 grit for final smoothing. Always sand between primer and paint coats for best results.
How long should walls dry after cleaning before painting?
Allow at least 24 hours for walls to dry completely after washing. In humid conditions, wait longer. Test dryness by touching the wall, it should feel completely dry with no moisture. This ensures paint adhesion and prevents bubbling or peeling.
Should you prime walls before painting?
Primer is necessary when painting over stains, water damage, new drywall, or making significant color changes. It seals the surface, improves paint adhesion, and reduces the number of finish coats needed. Use a quality primer matched to your paint type for best coverage and durability.
Can I paint over glossy paint without preparation?
No. Glossy paint is slick and prevents new paint from adhering properly. You must sand the glossy surface with 120-150 grit sandpaper to dull the finish, then clean away all dust. This step ensures your new paint won't peel or chip prematurely.