 How-to
Quality Interior Wall Painting Tips for a Smooth Finish
Last Updated: November 4, 2026
Quick Summary
Quality interior wall painting starts with diagnosing each wall before you buy paint, since the surface decides the products. Check for shine, stains, peeling, bumps, and chalk, because a wall that fails two or more checks needs prep work before any paint goes on. Match each condition to the right preparation or primer so the finish holds up.
- Walk each room with a bright light held at an angle to reveal what overhead lighting hides.
- Wash walls with a mild degreaser and warm water, wiping top to bottom, then rinse.
- Plan on two coats for most color changes and three when switching between dark and light.
- Cut in edges and corners first, then roll while the brushed edge is still wet.
- Buy all your paint in the same order because color can vary slightly between batches.
Table of Contents
- Start With a Wall Diagnosis Before You Buy Paint
- How to Prep Walls for Painting: Clean, Sand, and Repair
- The Best Interior Paint Tools for Beginners
- Choosing Sheen and Estimating Paint Quantity
- Cutting In, Rolling, and Holding a Wet Edge
- How Long Does It Take to Paint a Room?
- Common Interior Painting Mistakes to Avoid
- Get Your Interior Wall Painting Scope in Writing
- Frequently Asked Questions
Start With a Wall Diagnosis Before You Buy Paint
Quality interior wall painting tips start with looking, not shopping. A wall tells you what it needs before you open a paint can. Every wall should be diagnosed before a project is quoted, because the surface decides the products.
Walk each room with a bright light held at an angle. It shows what overhead lighting hides. Then run these five checks and write down what you find, because each result points to a different fix.
- Shine test: Glossy patches mean old semi-gloss or enamel that new paint will not grip. Dull those areas with fine-grit paper until the sheen is gone, then wipe off the dust. A bonding primer is the backup when sanding is impractical.
- Stain check: Brown rings on ceilings or walls point to water. Find and fix the source before any paint goes on, or the stain will bleed through. Once the area is dry, seal it with a stain-blocking primer rather than painting over it.
- Peel test: Press tape on a patch and pull. Lifting paint means the old coat is loose, and new paint will fail the same way. Scrape off what is loose, feather the edges with sandpaper, and prime the bare spots.
- Bump test: Run a hand along the wall. Dents and ridges need patching, not paint. Fill them with spackle, let it dry, sand smooth, and prime the patch so it takes paint the same as the surrounding wall.
- Chalk test: White dust on your finger means the paint is breaking down, which is common on older flat finishes. Wash the wall, then prime with a bonding primer before topcoating.
Two more conditions are worth checking on every wall. Mildew shows as dark speckles, often in bathrooms and on exterior-facing walls, and it needs a mildewcide wash and full drying before primer. Bare or damaged drywall, where the paper facing is torn or the gypsum is exposed, needs a drywall primer that seals the paper so the topcoat does not fuzz it.
A wall that fails two or more checks needs prep work before any paint goes on. Skipping this step is the most common reason a fresh coat fails early.
How to Prep Walls for Painting: Clean, Sand, and Repair
Prep work decides how the finish looks a year from now. Cleaning, sanding, and repair take longer than painting, and that is normal. The step-by-step wall prep guide walks through each stage in detail.
Follow this order:
- Clear the room. Move furniture to the center and cover it with plastic sheeting.
- Wash the walls. Mix a mild degreaser with warm water. Wipe top to bottom, then rinse.
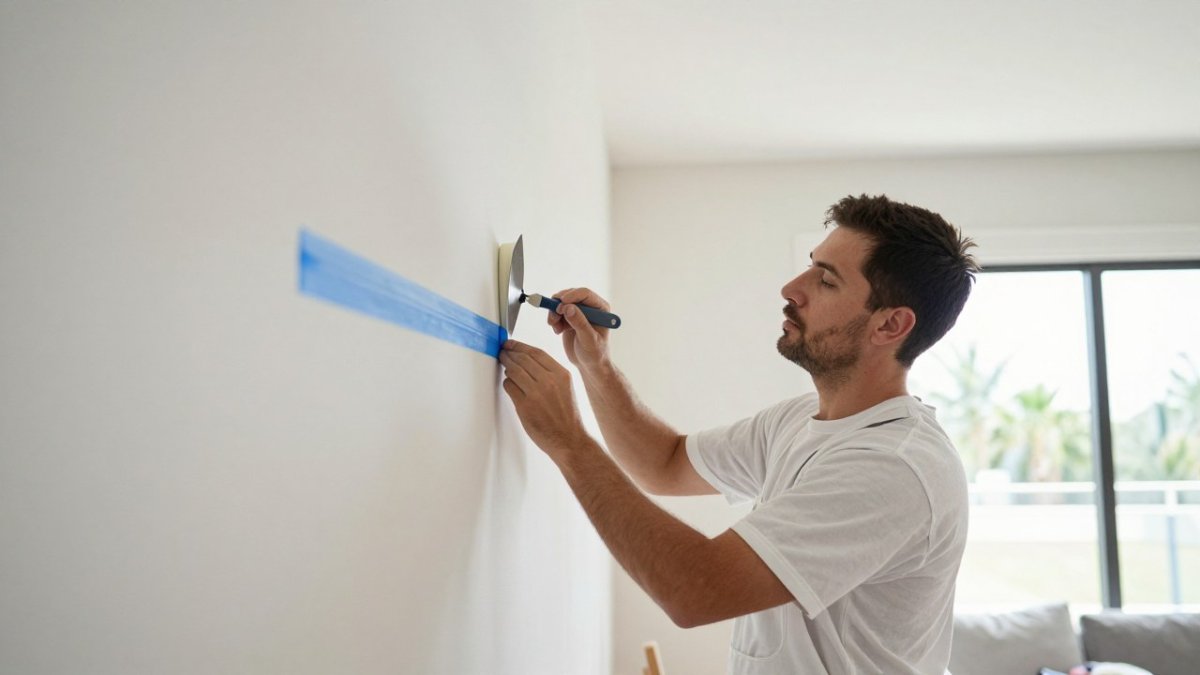
- Patch holes and cracks. Apply spackle with a putty knife. Let it dry fully.
- Sand smooth. Use fine-grit paper over patches and dull any glossy spots.
- Wipe off dust. A damp cloth picks up what a broom leaves behind.
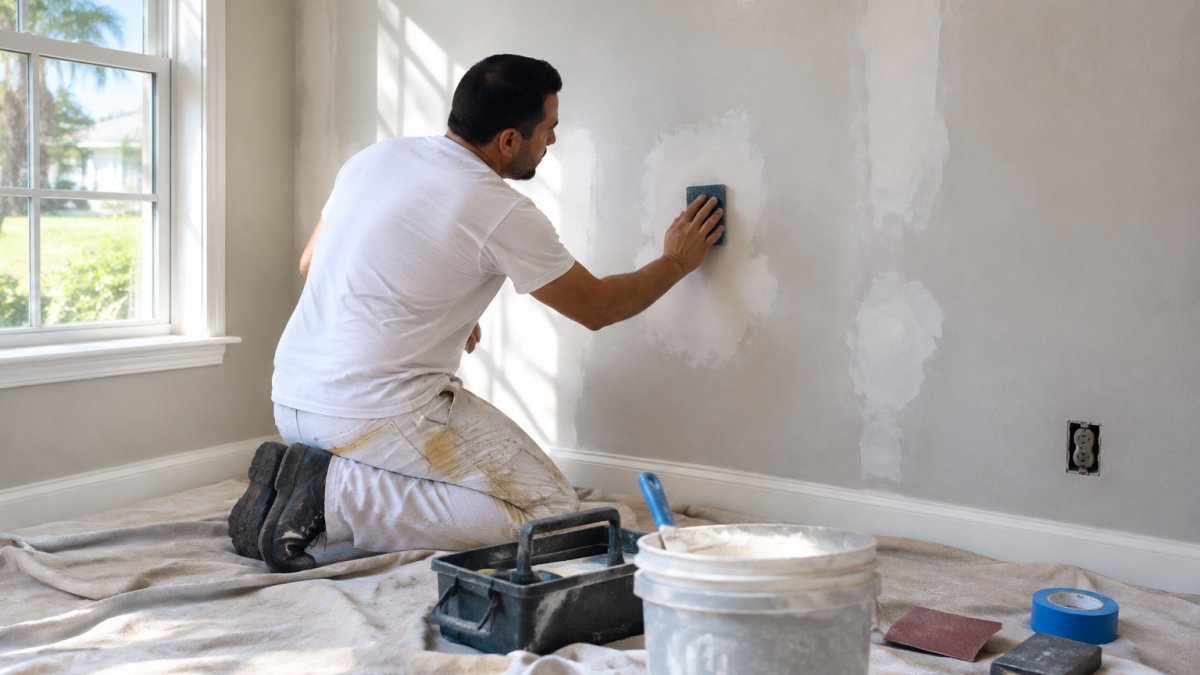
Watch out: sanding old paint without checking for lead is a real risk in homes built before 1978. Check the EPA lead information before starting that work.
Protect Floors, Furniture, and Fixtures
Protection is cheap and fast. Damage is neither.
- Lay canvas drop cloths over floors, not thin plastic sheets that slip.
- Cover furniture with plastic and tape the edges down.
- Remove switch plates, outlet covers, and light fixtures, and label each one.
- Tape around trim and window frames with painter's tape.
- Keep a damp rag nearby for drips.
Store removed hardware in a labeled bag per room. Reinstalling goes faster when nothing is mixed up.
The Best Interior Paint Tools for Beginners
The best interior paint tools for beginners are a short list: one quality brush, one roller, and the right covers. You do not need a garage full of gear.
- Angled sash brush: cuts clean lines along trim and corners.
- Roller frame with a 2 to 3 inch nap cover: holds paint and covers texture.
- Paint tray with a grid: lets you roll off excess evenly.
- Extension pole: reaches ceilings without a ladder.
- Painter's tape and drop cloths: protect edges and floors.
Buy one good brush instead of three cheap ones. Bristles that shed end up stuck in the finish. Match the roller cover to the surface: short nap for smooth drywall, thicker nap for textured walls.
Choosing Sheen and Estimating Paint Quantity
Sheen is the amount of shine a paint finish has, and it changes how a wall looks, how it cleans, and how forgiving it is of surface flaws. Pick sheen by room and wall condition, not by habit.
- Flat: hides flaws and absorbs light, which suits low-traffic bedrooms and ceilings. It does not wipe clean well, so avoid it in kitchens and hallways.
- Eggshell: wipes clean and reflects a little light, which works well in living rooms and hallways. It is a common middle ground for walls that see hands and furniture.
- Satin: resists moisture and stands up to light scrubbing, which makes it a good fit for kitchens and kids' rooms. Its shine shows wall imperfections more than eggshell does.
- Semi-gloss: stands up to scrubbing and is easy to wipe, which is why it is standard for trim, doors, and cabinets. On large wall fields it can look shiny and highlight dents.
A practical rule: the more a wall gets touched, scrubbed, or exposed to moisture, the higher the sheen should go.
For paint quantity, plan on two coats for most color changes, and three when going from a dark color to a light one or the reverse. Measure wall height times width per wall, add the totals, and subtract the square footage of doors and windows. Then divide by the coverage number on the label, which most interior wall paints list per gallon.
Here is a worked example. A room with four walls, each 8 feet high and 12 feet long, has 384 square feet of wall area.
Buy all your paint in the same order if you can, because color can vary slightly between batches. Keep a labeled quart of each color for touch-ups, and store it where it will not freeze.
A free interior painting cost estimator is available to help plan your project.
Cutting In, Rolling, and Holding a Wet Edge
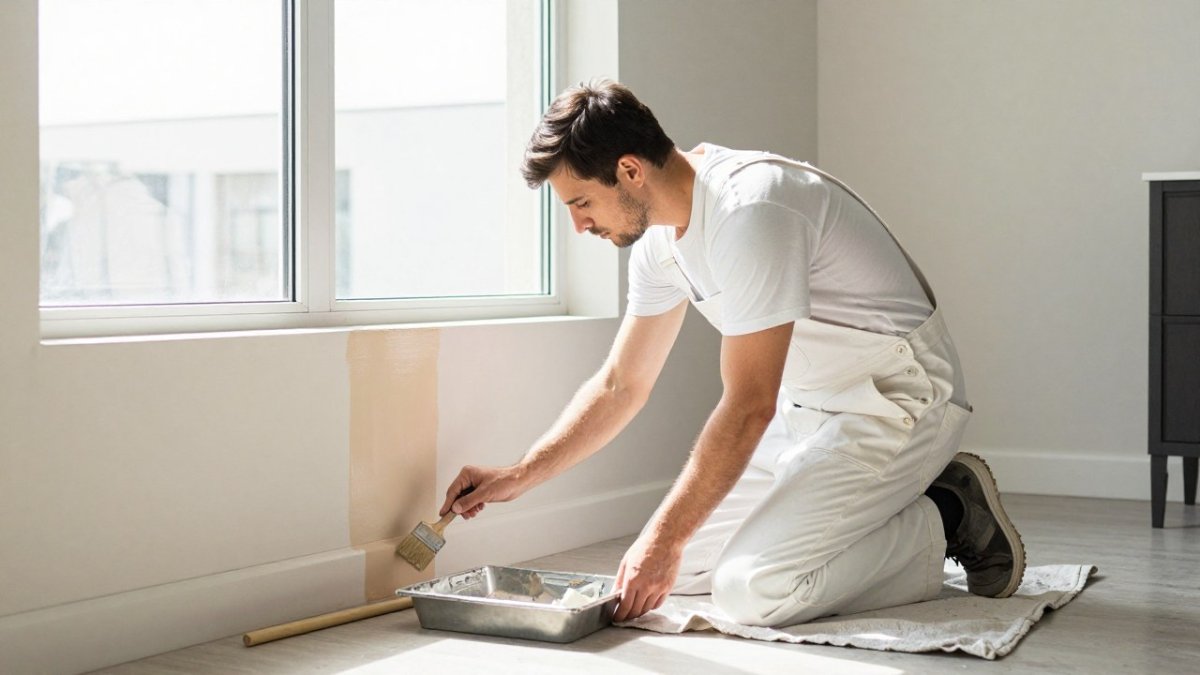
Cutting in means painting the edges, corners, and trim lines with a brush before the roller touches the field. Do it first, then roll while the brushed edge is still wet.
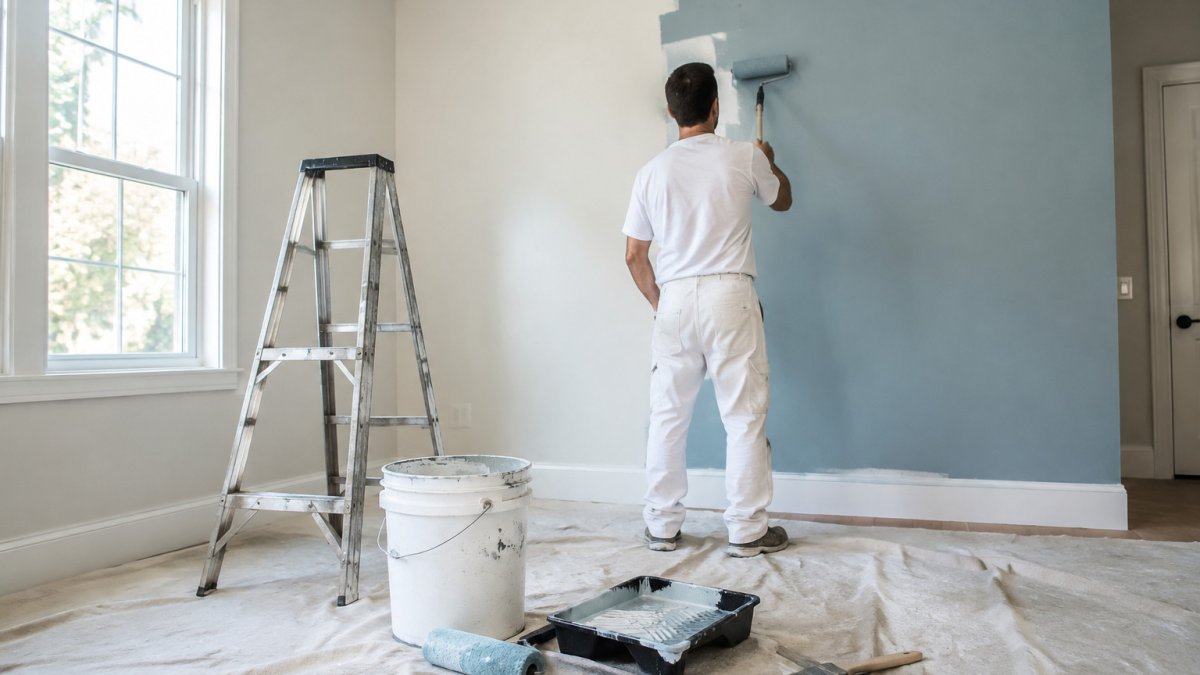
Roll in a W pattern: three or four strokes in a W, then fill the gaps without lifting the roller. Keep overlapping strokes so each pass blends into the last. That blending is your wet edge, and losing it leaves visible lap marks.
Work top to bottom and one wall at a time. Load the roller evenly and roll off the excess in the tray. Pressing hard does not add coverage; it adds roller marks.
Drying and Recoat Timing by Room Conditions
Recoat timing depends on temperature, humidity, and airflow, not just the clock. Most labels list a recoat window, and that window shifts with conditions.
- Cool, damp rooms: wait longer, and add a fan.
- Warm, dry rooms: follow the label's minimum.
- High humidity: expect a slower cure and tacky feel.
- Poor airflow: open windows and doors where safe.
Test a small spot before the second coat. If paint feels tacky or lifts on your finger, wait.
How Long Does It Take to Paint a Room?
Room painting time depends on size, prep, and drying conditions. How long it takes to paint a room depends on prep, drying, and how many colors you use.
| Task | Typical Time | Notes |
|---|---|---|
| Clear and protect the room | 1-2 hours | Move furniture, cover floors |
| Clean, patch, and sand | 2-4 hours | Longer for damaged walls |
| Tape and cut in | 1-2 hours | Edges take patience |
| Roll first coat | 1-2 hours | One wall at a time |
| Dry and recoat | Label window | Often overnight |
| Second coat and cleanup | 2-3 hours | Includes tape removal |
Plan for drying gaps between steps. Rushing the recoat is where schedules fall apart.
Common Interior Painting Mistakes to Avoid
The most common interior painting mistakes to avoid are rushing prep, skipping primer, and overloading the roller. Each one shows up later as peeling, flashing, or drips.
- Painting over dirty or glossy walls, so the new coat never bonds.
- Skipping primer over dark colors or fresh patches, which leaves uneven sheen.
- Overloading the roller, which causes drips and heavy texture.
- Removing tape while the paint is dry, which tears the edge.
- Painting in poor ventilation, which traps fumes and slows drying.
- Ignoring drying time and recoating too soon.
If you are weighing whether to keep going yourself, an honest professional painters versus DIY comparison helps you decide before you buy more supplies.
Get Your Interior Wall Painting Scope in Writing
A written scope helps keep a project organized and free of surprises. Before any work starts, ask for a written scope that describes the planned work. We provide a written scope before scheduling or payment, and we verify the space in person before final pricing.
Our interior painting services are described on our website. When you are ready, tell us what you would like painted and request a free estimate.
Frequently Asked Questions
What is the secret to a smooth interior paint finish?
Surface preparation does more for a smooth finish than any premium paint. Fill dents with spackle, sand patches flush, and wipe dust off the walls before the first coat. On the wall, cut in the edges first, then roll in overlapping W strokes while the cut-in line is still wet. Two thin coats beat one heavy coat every time, and sanding lightly between coats knocks down any grit or brush texture.
Is it better to use a brush or roller for interior walls?
Use both, for different jobs. A 2- to 2.5-inch angled brush handles cutting in along ceilings, corners, and trim where a roller cannot reach cleanly. A 9-inch roller with a 3/8-inch nap cover covers the open wall field fast and lays paint evenly. Beginners who try to brush an entire wall end up with visible lap marks, and rolling right up to the ceiling usually smears paint onto it.
How many coats of paint are actually necessary for quality results?
Plan on two coats for almost every interior wall project. The first coat seals the surface and evens out absorption; the second builds the color and sheen you actually see. Going over a dark color with a light one, or painting over fresh drywall patches, often needs a primer coat plus two finish coats. Skipping the second coat leaves thin spots that show through under different lighting.
How do I properly prepare walls before painting for a high-quality look?
Wash the walls with a degreaser, especially in kitchens and around light switches. Scrape loose paint, fill cracks and nail holes with spackle, then sand smooth and wipe away dust. Remove switch plates and outlet covers rather than taping around them. Spot-prime repaired areas and any water or marker stains so they do not bleed through the finish. This prep work is what separates a finish that lasts from one that peels in a couple of years.
Painting a room well is a planning problem more than a steady-hand problem. If you want a defined scope, careful prep, and a price you can see before work begins, we can help. LMJ Bright Painting Services offers a free smart cost estimator, room-by-room planning, and a written scope before scheduling. Get started with LMJ Bright Painting Services and build a free estimate for your project.