 How-to
How to Update Kitchen Cabinets Without Replacing Them
Last Updated: November 12, 2026
Quick Summary
To update kitchen cabinets without replacing them, first inspect the material and box condition, then choose a method such as painting, refinishing, hardware swaps, or new doors. Solid wood with sound boxes suits paint or stain, while laminate needs bonding primer and careful prep.
- Identify whether cabinets are solid wood, painted wood or MDF, laminate, or veneer before choosing a method.
- Press a fingernail into an inconspicuous spot; easy denting suggests a soft core that may not hold hardware.
- Painting laminate without sanding and bonding primer often leads to peeling within a few months.
- Hardware swaps are generally the lowest-cost update and can change a kitchen's look quickly.
- Cosmetic updates will not fix water damage, sagging shelves, or soft box corners; repair or replace those first.
Table of Contents
- Assess Your Cabinets Before Choosing an Update Method
- How to Redo Kitchen Cabinets on a Budget
- How to Refresh Kitchen Cabinets Without Painting
- How to Update Laminate Kitchen Cabinets Without Replacing Them
- Step-by-Step: Painting or Refinishing Cabinets Without Replacing Them
- Updating Kitchen Cabinets: Before and After Results and Realistic Costs
- Common Mistakes, DIY Versus Professional Help, and Your Next Step
- Frequently Asked Questions
Assess Your Cabinets Before Choosing an Update Method
Before you update kitchen cabinets, know what they are made of, how they are built, and how much damage they carry. A cabinet that works well for paint can look terrible under a laminate-style finish, so check first, then use the findings to pick a method instead of guessing.
Solid wood, painted, or laminate: how construction changes your options
Start by identifying the material. Open a door and look at the edges and the inside of the box.
- Solid wood: Grain shows through the finish. Edges look rich and dimensional. These cabinets take paint, stain, and refinishing well.
- Painted wood or MDF: Smooth, even surfaces with no visible grain. MDF edges look fuzzy or flat. Paint bonds well with proper prep.
- Laminate or thermofoil: A plastic-like film over particleboard or MDF. Edges may peel or show a seam. These need special primer and extra prep before paint will hold.
Check the cabinet box too. Look inside for sagging shelves, water stains, soft spots near the sink, or chipped corners. Open and close every door and drawer and note which hinges sag, which slides stick, and whether the boxes are square.
A condition-based decision guide: paint, reface, replace doors, or replace cabinets
Use the answers from your inspection to narrow the options. The table below is a starting point, not a rule, a single cabinet can fall into more than one row.
| What you find | Best-fit update | Why |
|---|---|---|
| Solid wood or painted wood, sound boxes, minor wear | Paint or refinish | Lowest material cost, widest color choice, and the existing doors are reusable |
| Solid wood, sound boxes, but doors are dated or damaged | Replace doors and drawer fronts | Keeps the boxes and layout; changes the look more than paint alone |
| Laminate or thermofoil, sound boxes, film still bonded | Refacing or specialty-primed paint | New veneer or doors avoid the adhesion risk of painting slick film |
| Laminate with peeling edges or bubbling film | Replace doors or reface | Paint will not hide lifting film, and the failure will return |
| Water damage, sagging shelves, or soft box corners | Repair or replace cabinets | Cosmetic updates will not fix structural failure |
| Good cabinets, dated hardware and lighting only | Hardware, lighting, and trim | Cheapest path; no finish work required |
A few practical checks sharpen the call. Press a fingernail into an inconspicuous spot on the box, if it dents easily, the core is soft and may not hold new hinges or slides.
If your inspection points to more than one option, price the two closest paths before deciding. A paint project and a door-replacement project can land in a similar range once labor and materials are counted, and the cheaper-looking option is not always the one that lasts.
How to Redo Kitchen Cabinets on a Budget
A budget update focuses on the parts you touch and see most. You do not need to change everything at once. Small changes add up to a big visual difference.
Low-cost updates: new hardware, hinges, and trim
Hardware is often the cheapest way to change how a kitchen looks. Swapping knobs and pulls is often one of the lower-cost ways to change how a kitchen looks.
- Replace knobs and pulls with a consistent finish, such as brushed brass or matte black
- Upgrade worn hinges to soft-close versions if your doors slam
- Add simple trim or molding along the top of upper cabinets for a built-in look
We recommend measuring hole spacing before you buy new pulls. A mismatch means extra holes, which can look messy.
Removable wallpaper and interior shelf liners
Removable wallpaper works well inside cabinets and on the backs of open shelves. It adds color and pattern without permanent changes. Choose a product labeled removable and test a small area first, since some finishes can lift paint or stain.
Shelf liners protect surfaces and hide wear. Pick one with a cushioned or non-slip backing for drawers that see heavy use.
How to Refresh Kitchen Cabinets Without Painting
Painting is not the only path. Compare this DIY route with a professional cabinet refinishing review in Tampa to see how pro results stack up.
Another option is to replace only the doors and drawer fronts while keeping the existing boxes. This can give a fresh look at a lower cost than full replacement, though the price depends heavily on the door style and your local market.
How to Update Laminate Kitchen Cabinets Without Replacing Them
Laminate is harder to update because paint does not grip the slick surface well. Many homeowners find that the best results come from a careful, multi-step process.
- Clean the surface with a degreaser to remove cooking residue
- Scuff-sand the surface with fine-grit sandpaper so primer can grip
- Apply a bonding primer made for laminate or slick surfaces
Be realistic about the result. Laminate doors can still show seams and edge wear over time, especially in high-traffic kitchens. Check the manufacturer's instructions for your specific product before you start.
Step-by-Step: Painting or Refinishing Cabinets Without Replacing Them
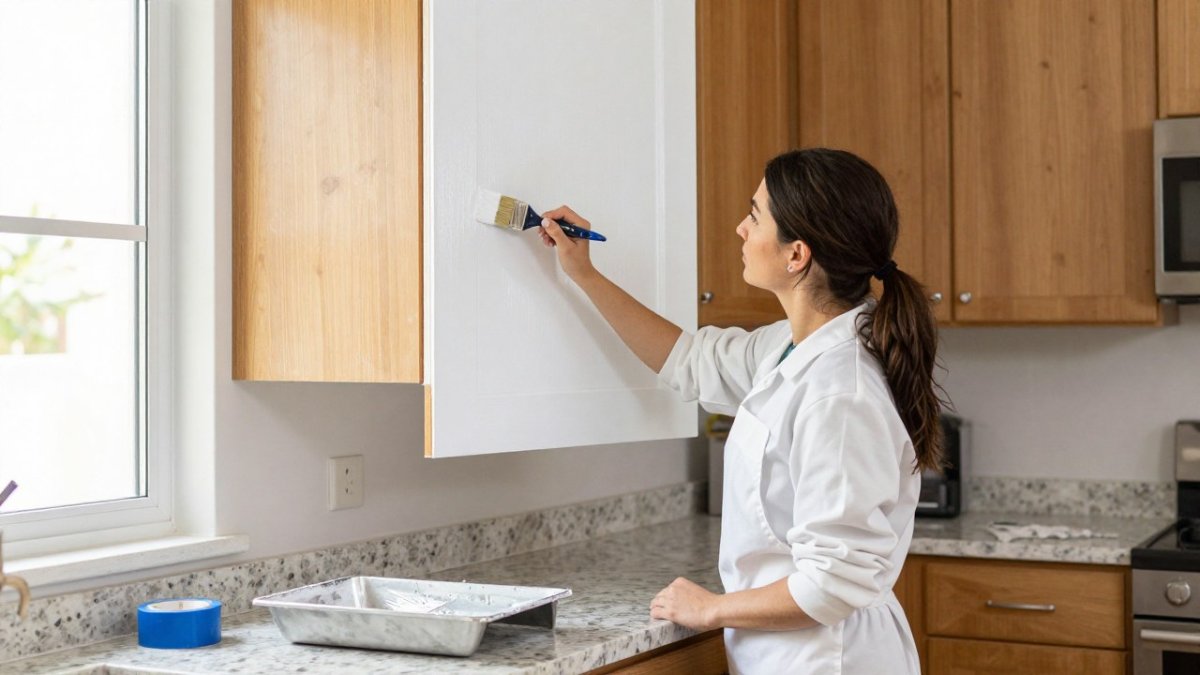
If you decide to paint, follow a clear sequence. Rushing the prep is the most common reason paint fails.
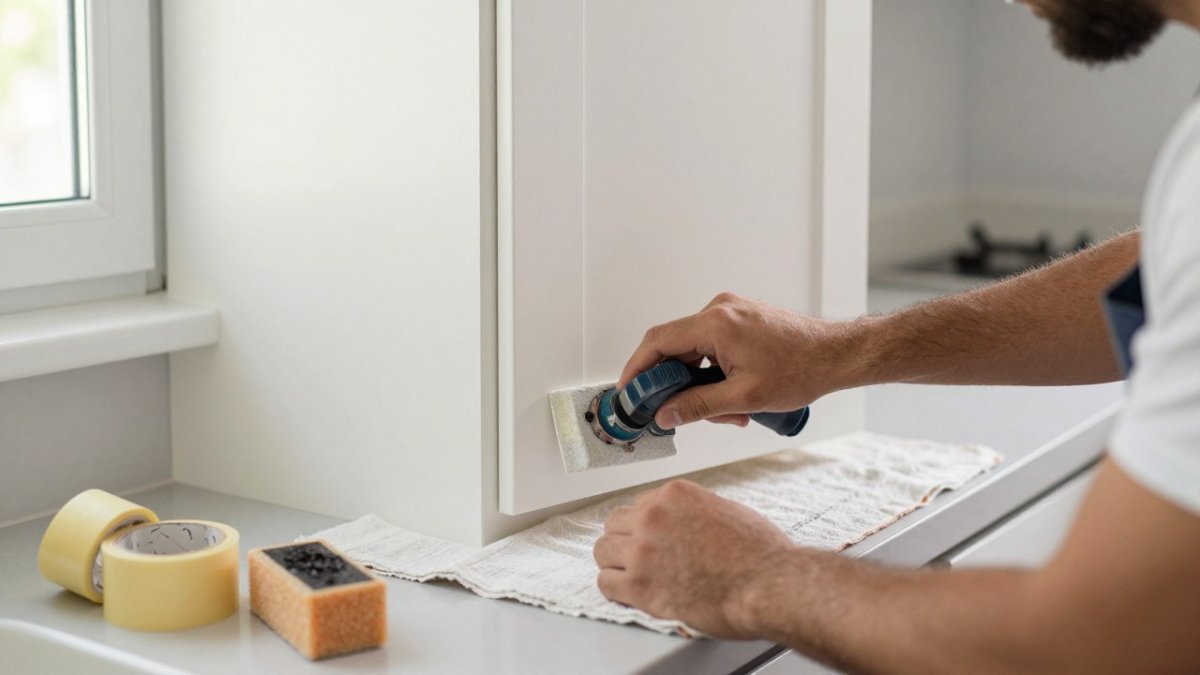
- Remove doors, drawers, and hardware. Label each piece so it goes back in the right spot.
- Clean all surfaces. Use a degreaser to remove grease, especially near the stove.
- Sand lightly. Scuff the surface with fine-grit sandpaper. You want the paint to bond, not to remove the finish.
- Wipe away dust. A tack cloth works well for this.
- Prime. Apply a bonding primer in thin coats and let it dry fully.
- Paint. Use a cabinet-grade enamel with a brush or fine foam roller. Apply two to three thin coats.
- Reinstall once cured. Paint can feel dry within hours but may need several days to fully harden. Avoid heavy use during that time.
Expect the full project to take a weekend for a small kitchen and longer for a large one. Plan for more time if you are working with laminate or doing multiple coats.
Preparation, priming, and finish durability
Preparation decides how long your paint lasts. Skipping the primer or sanding step often leads to chipping near handles and along edges. Learn more in our step-by-step guide to preventing cabinet paint peeling. A durable enamel finish holds up better to daily wear than a flat paint.
Watch out: Do not seal paint in a humid kitchen before it has cured. Trapped moisture can cause bubbles and soft spots.
Updating Kitchen Cabinets: Before and After Results and Realistic Costs
Before-and-after results depend on your starting point. Dated oak cabinets with a yellowed finish often show dramatic change after painting. Cabinets in good shape may need only new hardware for a clean update. The bigger question most readers have is what each path actually costs and how long it lasts, so treat the ranges below as planning numbers, not quotes.
What each update typically costs
Costs vary by region, cabinet count, material, and whether you do the work yourself. Costs depend on the factors below, and written estimates for your specific layout are the most reliable way to plan.
- Hardware swap: generally the lowest-cost update, with the total depending on the number and style of pulls and hinges.
- Paint (DIY): material costs depend on primer, cabinet-grade enamel, and prep supplies.
- Refinishing or gel stain (DIY): material costs are similar to painting, with more labor per door because of the sanding and glaze steps.
The cost drivers are consistent across all of them: number of doors and drawers, door style and detail, material choice, condition of the boxes, and how much prep the existing finish needs.
How long each update lasts
Durability is where the cheap options separate from the good ones.
- Hardware: lasts for years; finish wear on cheaper pulls shows first at the most-used handles.
- Paint: a properly prepped and cured cabinet enamel can hold up well in a home kitchen, with touch-ups at high-touch edges. Poor prep shortens its life.
- Refinishing and gel stain: similar lifespan to paint when the existing finish was sound to begin with.
Maintenance matters too. Painted cabinets should be wiped with a damp cloth and mild soap rather than abrasive cleaners, and edges near handles benefit from a light touch-up every few years. Refaced and factory-finished doors generally need only routine cleaning.
Realistic timelines and difficulty
- Hardware swap: an afternoon for a beginner, assuming hole spacing matches.
- Painting a small kitchen (DIY): a weekend of active work plus several days of drying and curing before heavy use. Larger kitchens and laminate take longer.
- Refinishing: similar to painting, with more sanding time per door.
DIY painting can save money but costs time and carries a higher risk of a poor finish, while professional work typically costs more and includes thorough prep. Get at least two written estimates if you hire a professional, and ask exactly what prep work is included. Pricing depends on the scope of work, so check our website for current pricing or request a quote. You can also review cabinet refinishing services in Tampa, including pricing and process.
Common Mistakes, DIY Versus Professional Help, and Your Next Step
The most common mistakes are skipping the degreasing step, using the wrong primer, and rushing the cure time. Each one can ruin an otherwise good project.
DIY works well for hardware swaps, simple repainting of solid wood, and small kitchens. Consider professional help for laminate, damaged boxes, or large projects where a flawless finish matters.
Your next step is to look closely at your cabinets using the checklist above. If you want an expert opinion on your specific cabinets, request a free estimate from LMJ Bright Painting Services and get a written scope before any work begins.
Frequently Asked Questions
What is the cheapest way to refresh my kitchen cabinets without replacing them?
The lowest-cost option is usually swapping hardware, adding new hinges, or cleaning and degreasing the existing finish before any other work. New knobs and pulls are a visible change that takes an afternoon. Removable wallpaper on the interior of cabinets or on door panels adds color for a small material cost. Costs depend on the number of doors, the hardware style you choose, and whether you do the work yourself. For a quote on a larger project, LMJ Bright Painting Services offers a free estimate on its website.
Can kitchen cabinets be updated without replacing them?
Yes. Most dated cabinets can be updated by painting or staining the existing doors and frames, replacing hardware, adding crown molding or trim, or refacing with new veneer. Solid wood boxes with sound joints are the best candidates for these methods. Cabinets with water damage, sagging shelves, or loose boxes usually need repair before any finish will last. A quick inspection of the boxes and hinges will show which route makes sense.
How do you update laminate kitchen cabinets without replacing them?
Laminate surfaces need a bonding primer designed for slick materials before paint will adhere. Clean and scuff-sand the surface lightly, prime, then apply a durable cabinet enamel in thin coats. Peeling laminate edges should be repaired or trimmed before painting. Refacing with peel-and-stick veneer is another option, though its durability depends on careful surface preparation. Test a small hidden area first to confirm adhesion.
How long does it take to paint kitchen cabinets?
Most homeowners painting a standard kitchen spend several days, because each coat needs time to dry and doors often need to be removed and labeled. Preparation, including cleaning, sanding, and priming, usually takes longer than the finish coats themselves. Cure time before heavy use can extend to a week or more depending on the paint. Schedules vary with the number of doors, the condition of the finish, and whether the work is done by a professional crew.