 How-to
How to Clean Painted Kitchen Cabinets Safely
Table of Contents
- Why Painted Kitchen Cabinets Need Special Care
- Best Cleaner for Painted Kitchen Cabinets
- Painted Cabinet Cleaning Tools You'll Need
- Step-by-Step Process for Cleaning Painted Kitchen Cabinets
- How to Remove Grease from Painted Cabinets
- How to Prevent Damage to Painted Cabinets
- Common Mistakes to Avoid When Cleaning Painted Cabinets
- Frequently Asked Questions
Last Updated: October 19, 2026
Why Painted Kitchen Cabinets Need Special Care
Painted kitchen cabinets are beautiful focal points, but their protective finish can chip, peel, or dull when exposed to the wrong products or techniques. The paint layer provides color and protects the wood from moisture, grease, and wear. Cleaning incorrectly strips that layer, leading to peeling, discoloration, and costly refinishing.
Keeping clean painted kitchen cabinets safe requires no special skills or expensive products, just understanding what works.
Safe and unsafe cleaning methods come down to three factors:
- The pH level of your cleaner (too acidic or alkaline damages paint)
- The abrasiveness of your cloth or brush (soft materials protect the finish)
- The amount of moisture you use (excess water seeps into wood and causes swelling)
Best Cleaner for Painted Kitchen Cabinets
The wrong cleaner can strip the finish, leave streaks, or cause discoloration. The right one removes grease and grime without harming the paint.
Mild Dish Soap and Warm Water
The safest everyday cleaner for painted cabinets is mild dish soap and warm water: gentle, affordable, and available in every home. Mild dish soap is pH-neutral, cutting grease without harsh chemicals, while warm water dissolves residue for easier rinsing.
To prepare your cleaning solution:
- Fill a bucket with warm water (not hot)
- Add a few drops of mild dish soap and stir gently
- The solution should be slightly soapy but not foamy
This solution handles most daily tasks, removing fingerprints, light grease, and dust without damaging the painted surface.
pH-Neutral Cleaners and White Vinegar Solutions
For stubborn spots or weekly deep cleaning, pH-neutral commercial cleaners are safe. Look for products labeled "pH-neutral" or "safe for painted surfaces." White vinegar is another effective option, but it's acidic and must be diluted properly.
To make a vinegar cleaning solution:
- Mix one part white vinegar with three parts warm water
- Apply with a soft cloth, wiping in the direction of the wood grain
- Rinse immediately with clean water and dry
The dilution ratio is critical, since undiluted vinegar can damage paint over time. Always test on a hidden area first.
Cleaners to Avoid on Painted Surfaces
Some common household cleaners will damage painted cabinets. Avoid these products entirely:
- Abrasive cleaners (like scouring powders or cream cleansers), these scratch and dull the paint finish
- Bleach or bleach-based cleaners, these strip paint color and can cause yellowing
- Ammonia-based cleaners (like Windex), these leave streaks and can damage paint over time
When in doubt, stick with mild dish soap and water rather than risking damage with an untested product.
Painted Cabinet Cleaning Tools You'll Need
Soft tools protect paint; rough ones damage it.
Essential tools for safe cabinet cleaning:
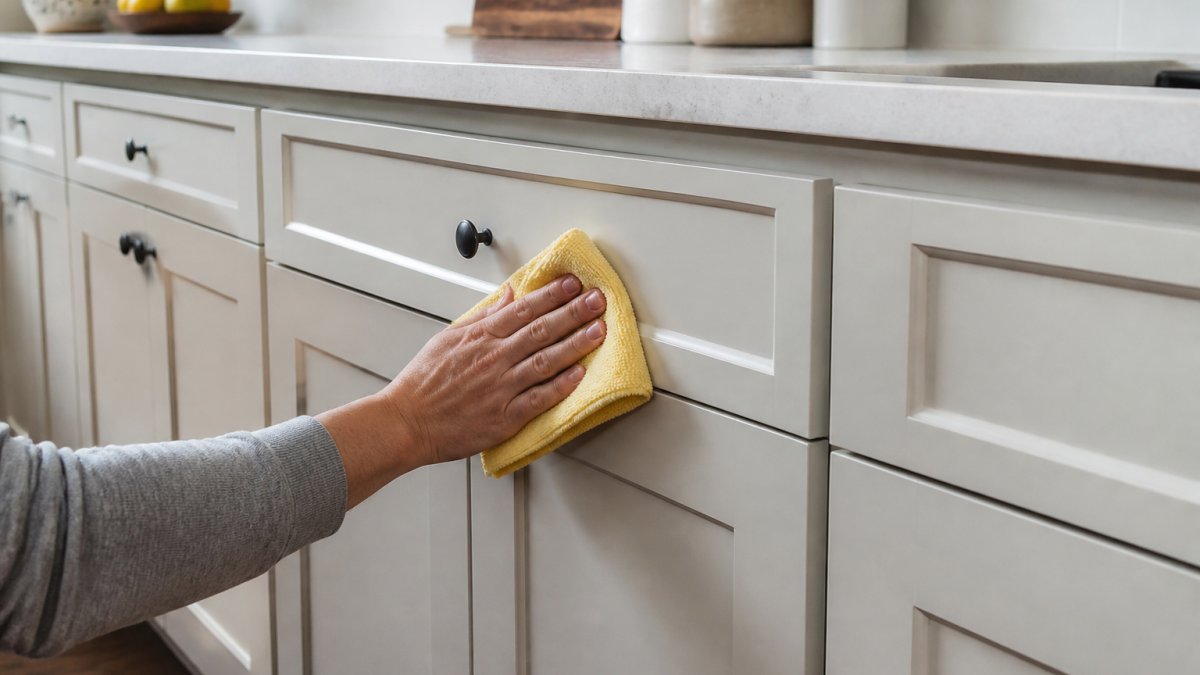
- Microfiber cloths, the gold standard for painted surfaces. They're soft, absorbent, and pick up grease without scratching or leaving lint.
- Soft white cotton rags, these work well for general cleaning and drying. Avoid colored rags, which can bleed dye onto light-colored cabinets.
- Soft-bristled toothbrush, useful for cleaning around hardware and in cabinet seams where grease accumulates. The soft bristles won't damage paint.
Skip these tools:
- Steel wool or scouring pads
- Stiff-bristled brushes
- Rough paper towels
Step-by-Step Process for Cleaning Painted Kitchen Cabinets
Total Time: 45 minutes to 1 hour
Difficulty: Beginner
Follow this process to clean your painted cabinets safely and effectively.
Step 1: Gather Your Materials and Prepare the Area
Gather everything before you start to avoid rushing and using the wrong product.
Collect:
- Two buckets filled with water (one for cleaning solution, one for rinsing)
- Microfiber cloths or soft cotton rags
- Mild dish soap
Clear countertops and cabinet tops for easy access and to prevent accidental spills.
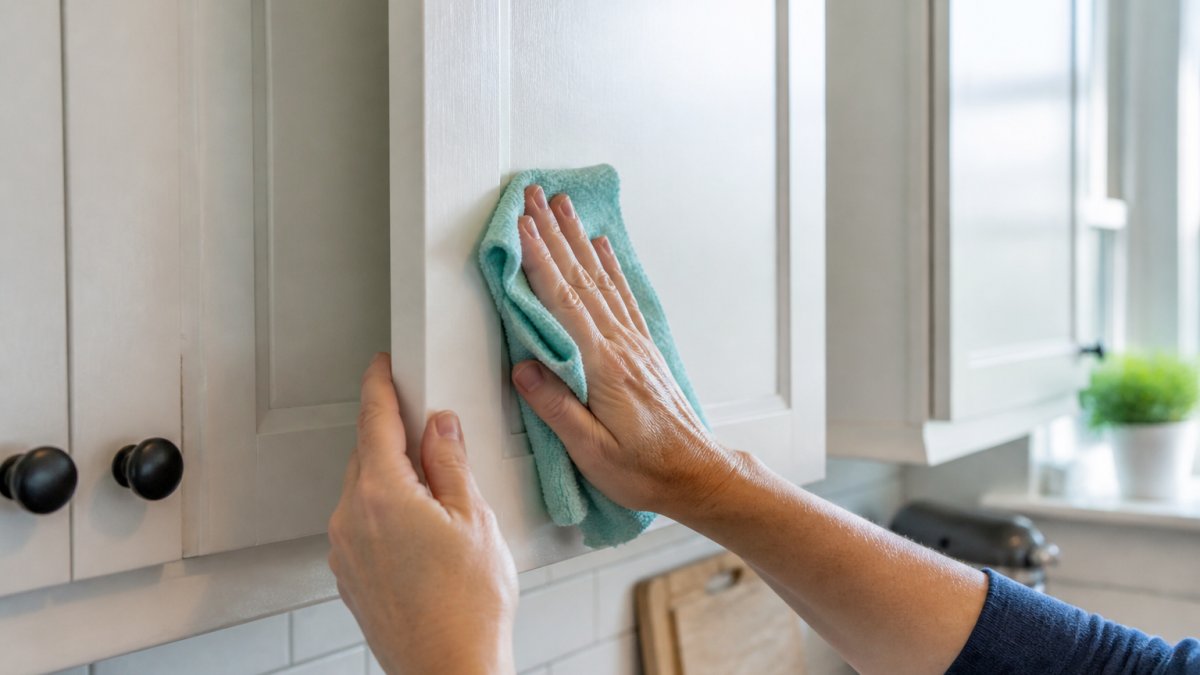
Step 2: Test Your Cleaner on an Inconspicuous Area
Test your solution on a hidden area first to prevent damage to prominent surfaces.
Test areas to use:
- The inside of a cabinet door
- The back of a cabinet
- The underside of a cabinet edge
Apply the solution with a cloth, let it sit 30 seconds, wipe away, and check for discoloration, dullness, or any change in finish. If the test area looks fine, proceed. If you notice damage, rinse immediately with clean water and try a different solution.
Step 3: Remove Grease and Food Splatters
Grease and food splatters are the most common cabinet stains and need more attention than dust.
Work on one cabinet at a time:
- Dip your microfiber cloth into the cleaning solution
- Wring out excess water (the cloth should be damp, not dripping)
- Wipe the cabinet surface with gentle, circular motions
- Focus on areas with visible grease or stains
- For stubborn spots, let the solution sit for 1-2 minutes before wiping
- Don't scrub hard, let the cleaner do the work
For heavy buildup, use a soft-bristled toothbrush with your cleaning solution. Gently brush around edges, hardware, and seams where grease accumulates. Never scrub with force.
Step 4: Wipe Down Cabinet Doors and Fronts
Then wipe all cabinet surfaces with a fresh cloth dampened in cleaning solution.
Work systematically:
- Start at the top of each cabinet and work downward
- Wipe in the direction of the wood grain (if visible under the paint)
- Use long, even strokes rather than circular motions
Finish each door before moving on, so the solution doesn't dry and leave streaks.
Step 5: Rinse with Clean Water and Dry Promptly
Rinsing removes soap residue and prevents streaks; drying protects the paint from moisture.
Rinsing process:
- Dip a clean cloth into your bucket of plain water
- Wring out excess water thoroughly
- Wipe each cabinet surface with the clean, damp cloth
- Use a second cloth with clean water for a final rinse if needed
Drying process:
- Use a dry microfiber cloth or soft cotton rag
- Wipe each surface completely dry
- Don't leave any standing water or damp spots
- Pay special attention to seams and edges where water collects
- Allow the cabinets to air-dry for 10-15 minutes before opening doors
Water seeps into wood grain and under paint, causing swelling, warping, and peeling. Always dry thoroughly.
How to Remove Grease from Painted Cabinets
Cabinets accumulate grease from cooking, especially near the stove, and buildup can damage paint if left untreated. Grease removal takes patience: never use harsh degreasers or aggressive scrubbing.
For light grease buildup:
- Use your standard mild soap and water solution
- Let the solution sit on the greasy area for 2-3 minutes
- Wipe gently with a soft cloth
For moderate grease buildup:
- Prepare a slightly stronger cleaning solution (add one extra drop of dish soap per bucket)
- Apply to the greasy area and let sit for 5 minutes
- Wipe with a soft cloth using gentle circular motions
For heavy grease buildup:
- Use a soft-bristled toothbrush with your cleaning solution
- Gently brush the affected area in small circular motions
- Avoid aggressive scrubbing, which scratches paint
If grease remains stubborn, repeat the process rather than switching to a harsh cleaner. Multiple gentle applications are safer than one aggressive attempt.
According to cleaning guidance from the EPA, proper ventilation while cleaning helps prevent grease from resettling on cabinets.
How to Prevent Damage to Painted Cabinets
Preventing damage is easier and cheaper than repairing it.
Establish a Routine Cleaning Schedule
Regular cleaning prevents buildup that makes cleaning harder and invites aggressive scrubbing.
Recommended cleaning schedule:
- Weekly: Wipe down cabinet fronts with mild soap and water to remove fingerprints and light dust
- Monthly: Deep clean all cabinet surfaces, including tops and sides
- Quarterly: Clean inside cabinets and remove any grease or spills
Quick weekly cleaning takes 10-15 minutes and prevents the need for heavy scrubbing. Consistent maintenance is the best investment in cabinet longevity.
Handle Hardware and Cabinet Edges Carefully
Grease and moisture accumulate around handles and hinges, which receive extra wear from daily use.
Protect these areas:
- Clean around hardware with a soft cloth and your standard cleaning solution
- Use a soft-bristled toothbrush to reach crevices around handles and hinges
- Dry thoroughly around all hardware to prevent water from seeping underneath
Cabinet edges where doors meet frames are also vulnerable. Moisture can seep into these gaps and cause paint to peel. Wipe these areas dry after every cleaning.
Address Paint Damage or Tacky Surfaces Early
Address paint damage, discoloration, or sticky surfaces quickly; small problems become big ones if ignored.
Common paint issues and what they mean:
- Peeling or chipping: The paint is separating from the wood. Stop using harsh cleaners immediately and consider professional repainting.
- Sticky or tacky feel: This indicates paint breakdown or residue buildup. Use a very mild cleaning solution and dry thoroughly. If tackiness persists, the cabinets may need refinishing.
- Dull or hazy appearance: This is usually residue from soap, cleaner, or hard water. Use a vinegar solution (diluted 1:3 with water) to restore shine.
When paint damage appears, it's time to consider professional help. LMJ Bright Painting Services provides professional cabinet painting solutions. By prioritizing a clearly planned process, the business ensures that every project is defined by detailed scopes, careful preparation, and transparent communication before any work begins.
Common Mistakes to Avoid When Cleaning Painted Cabinets
These mistakes cause the most damage to painted cabinets.
Mistake 1: Using too much water
Excess water is the leading cause of paint damage.
Mistake 2: Scrubbing aggressively
Aggressive scrubbing scratches and dulls the paint finish.
Fix: Use gentle, circular motions.
Mistake 3: Using the wrong cleaning products
Mistake 4: Not drying immediately
Mistake 5: Ignoring paint damage
Small chips and peeling paint get worse over time.
Fix: Address paint damage immediately.
Mistake 6: Cleaning with oil-based products
Oil-based furniture polishes and cleaners leave buildup on painted cabinets.
Fix: Never use oil-based products on painted cabinets.
Keeping your painted kitchen cabinets clean protects your investment.
When paint damage does occur, professional refinishing is the best solution. Our process includes proper surface preparation, high-quality paint, and careful application to ensure a finish that lasts. Learn more about cabinet refinishing best practices to understand the importance of professional-grade preparation.
Frequently Asked Questions
What is the safest way to clean painted kitchen cabinets?
The safest method uses mild dish soap mixed with warm water and a soft microfiber cloth. Dampen the cloth (not soaking wet), wipe cabinet doors and fronts gently, then rinse with clean water on a separate cloth and dry immediately. Always test your cleaning solution on an inconspicuous area first to ensure it won't damage the paint finish.
Can you use vinegar to clean painted cabinets?
White vinegar can work on painted cabinets when diluted properly, typically one part vinegar to three parts water. This creates a pH-neutral solution that cuts through grease without being harsh. However, test the solution on a hidden spot first, as some paint finishes may be sensitive to acidity. For most situations, mild dish soap is gentler and equally effective.
How do you remove grease from painted kitchen cabinets?
For stubborn grease buildup, use a soft-bristled toothbrush dipped in your mild soap solution to gently work the area, then wipe clean with a damp cloth. For tougher splatters, let the soapy cloth sit on the spot for a minute to soften the residue before wiping. Never scrub aggressively, as this can damage the paint. Always rinse thoroughly and dry immediately to prevent water marks.
How often should you clean painted kitchen cabinets?
Routine cleaning should happen weekly or biweekly with a dry cloth to remove dust and fingerprints. Deep cleaning with mild soap and water is recommended monthly in kitchens with moderate use, or more frequently if you cook often and splatter is common. Regular maintenance prevents grease and grime buildup, which makes cleaning easier and helps preserve the paint finish longer.