 How-to
After-Hours Commercial Painting: A Planning Guide
Table of Contents
- Why After-Hours Commercial Painting Makes Sense
- Planning Your Office Painting After Hours
- Business Painting Preparation: What Happens Before Work Starts
- Understanding Your Commercial Painting Project Timeline
- Getting an Accurate Commercial Painting Estimate
- Safety, Ventilation, and Low-Odor Products for Occupied Spaces
- How to Compare Bids and Verify Contractor Qualifications
- Frequently Asked Questions
Last Updated: October 5, 2026
Why After-Hours Commercial Painting Makes Sense
Closing for a full day of painting isn't an option for most commercial spaces. After-hours commercial painting solves this: your team works during business hours, painters work at night or early morning, and your operation stays uninterrupted.
Traditional daytime painting forces you to choose between professional results and normal business function. After-hours scheduling removes that conflict: in an empty building, painters move faster, prep thoroughly, and apply coatings without interruption.
Planning Your Office Painting After Hours
After-hours commercial painting requires upfront planning that daytime projects don't: access, safety protocols, and work windows outside normal business hours.
Start by defining your actual work window.
Next, identify what needs protection and what can stay exposed: in an office, equipment and desks; in retail, merchandise and fixtures.
Access control matters too. Clarify who has keys, how painters enter and exit, and whether you'll leave a door unlocked or meet them.
Business Painting Preparation: What Happens Before Work Starts
Surface Inspection and Repair
Before any paint touches a wall, the surface must be evaluated. A contractor who skips this step will find problems mid-project and either patch them poorly or charge you extra.
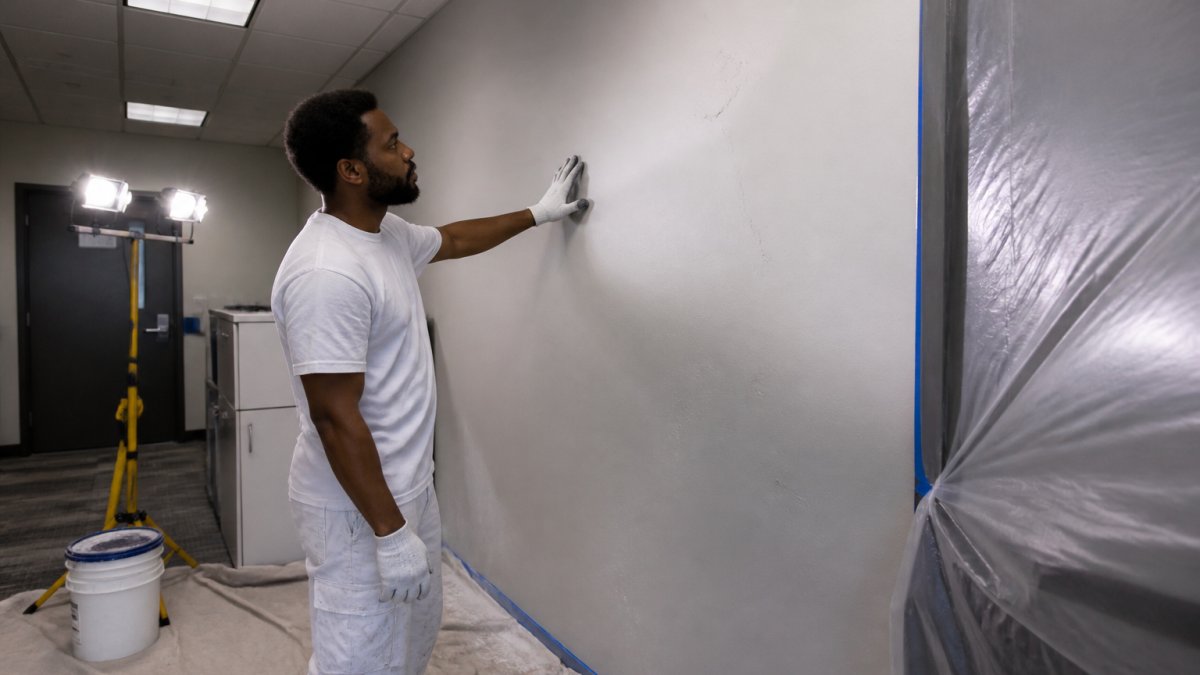
Surface inspection means checking for damage, previous paint failures, and structural issues.
The contractor should document findings in writing as part of your scope of work, so there's no ambiguity about what "prep work" includes.
Protecting Floors, Fixtures, and Equipment
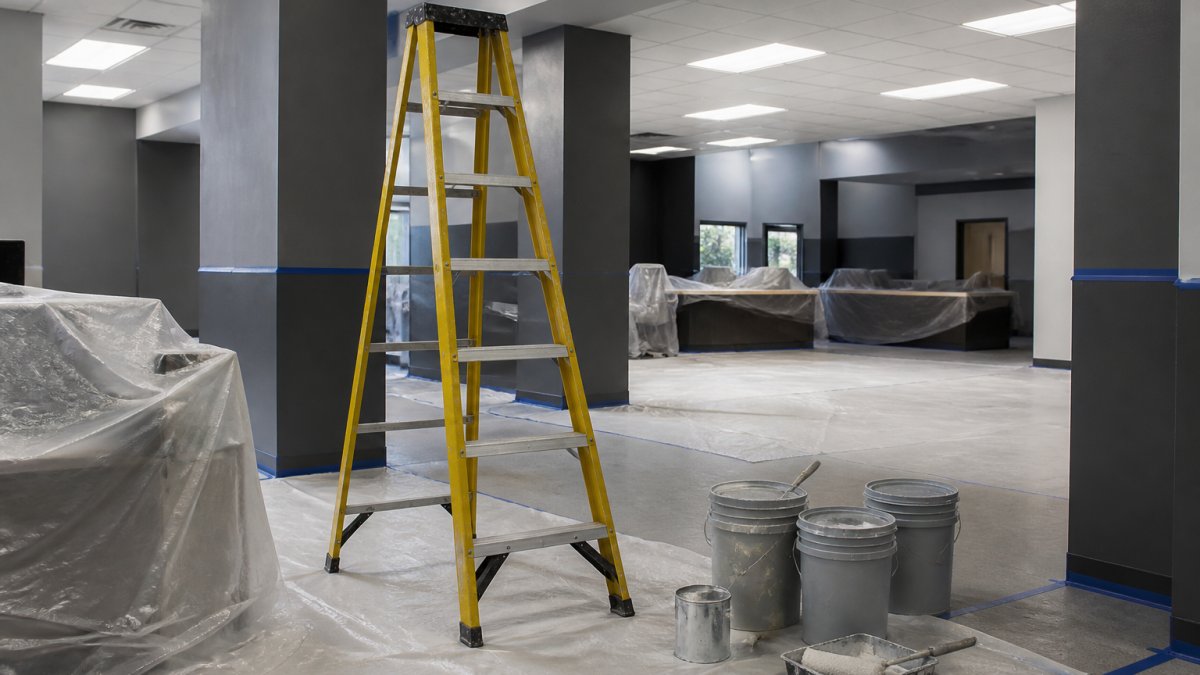
In an after-hours setting, protection is simpler because the space is empty, but it's not automatic. Painters still need to protect flooring, baseboards, and fixtures that stay in place.
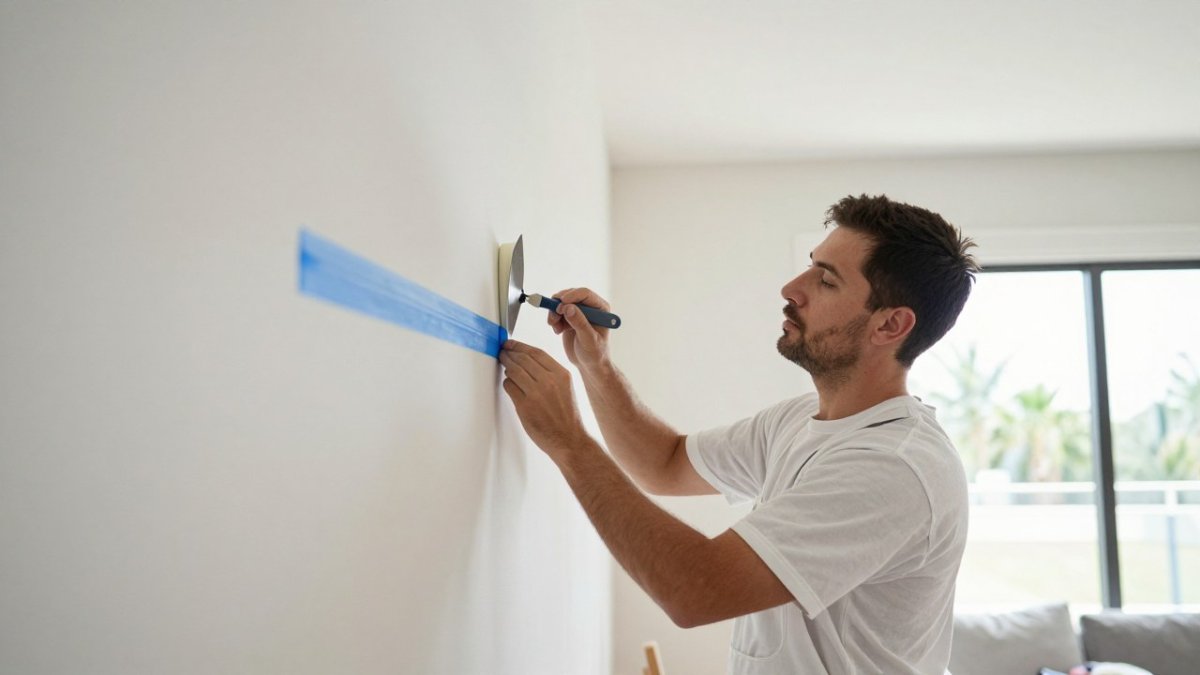
Plastic sheeting covers floors, drop cloths protect baseboards, and outlet covers and switch plates come off or get masked. This takes time, but it prevents damage claims, a paint drip on expensive flooring becomes a dispute.
Understanding Your Commercial Painting Project Timeline
A commercial painting timeline is not just square footage divided by production rate. In an after-hours project, the clock is the constraint: your work window is fixed by when the last employee leaves and the first one arrives, and prep, coating, dry time, cleanup, and reopening all have to fit inside it.
How to Build a Realistic After-Hours Work Window
Start with the actual access window, not the building's posted hours. If your office closes at 5:30 PM but the last manager locks up at 6:15 PM, the painter's window starts at 6:15 PM.
That gives roughly 11 to 12 hours of access. Subtract 30-60 minutes each for setup and protection, teardown and cleanup, and a final walkthrough and touch-up pass.
Sequencing the Work Across Nights
A practical after-hours sequence looks like this:
- Night 1, Protection and prep. Move or cover furniture, mask trim and fixtures, lay floor protection, and complete surface repairs that need to dry overnight.
- Night 2, Priming. Apply primer to repaired areas and any color-change surfaces. Primer needs time to cure before topcoat.
- Nights 3-5, Topcoats. Cut in edges first, then roll or spray walls. Work one zone at a time so finished areas can dry while the crew moves to the next zone.
- Night 6, Trim, doors, and detail. Paint baseboards, door frames, and any accent areas. These often need a second pass.
- Night 7, Inspection and touch-up. Walk the space under work lights, correct flaws, and confirm the space is ready for occupancy.
A 5,000-square-foot office with light prep and a same-color repaint often fits this pattern in 4 to 6 nights. Add 2 to 3 nights for a color change or primer, and 3 to 5 nights if drywall repair, water-damage remediation, or extensive sanding is required. These are patterns, not guarantees, the contractor's site inspection turns them into a real schedule.
Dry Time, Cure Time, and the Reopen Decision
Paint that feels dry to the touch is not necessarily ready for heavy use. Most interior latex paints are recoatable in 2 to 4 hours and dry to the touch in about an hour, but full cure takes days to weeks.
Three variables control that answer:
- Humidity. High humidity slows dry time, especially in a coastal climate without dehumidification.
- Air movement. Fans and open windows speed drying; a sealed building with the HVAC off does the opposite.
- Product choice. Some low-odor, fast-dry products are formulated for same-day or next-morning occupancy. Ask for the product data sheet and confirm the recoat and occupancy guidance.
A common pattern is to paint the last zone no later than 3:00 AM, then use the remaining window for air movement and cleanup.
What Changes the Timeline Most
- Ceiling height. Above 10 feet, crews need lifts or scaffolding, which slows production and adds setup time each night.
- Number of colors. Each color change requires cleaning tools, changing trays, and cutting new lines. More colors, more nights.
- Occupied zones. If part of the space must remain accessible during the day, the crew has to work around it, which fragments the schedule.
A Simple Reopen Checklist
Before the space goes back into service each morning:
- Confirm all painted surfaces are dry to the touch and no wet edges remain.
- Remove or reposition all protection so walkways and exits are clear.
- Confirm no paint odor is strong enough to bother occupants; run HVAC or fans if needed.
A contractor who builds this checklist into the schedule understands that after-hours work is a logistics problem as much as a painting problem.
Getting an Accurate Commercial Painting Estimate
What to Include in Your Scope of Work
An estimate is only useful if it describes exactly what's included. Vague estimates create disputes; detailed estimates create clarity.
Your scope of work should specify:
- Rooms or areas being painted (office, hallway, break room, etc.)
- Surfaces being painted (walls, trim, doors, ceiling)
- Number of coats
This detail prevents assumptions that don't match your expectations, and prevents discovering mid-project that something you thought was included costs extra.
Factors That Affect After-Hours Pricing
After-hours commercial painting costs more than daytime work. Understand why, and you'll make better pricing decisions.
Labor is the primary factor.
Surface condition directly affects pricing.
Square footage and ceiling height matter.
Color changes increase cost. Going from dark to light requires primer; going from light to dark might require two coats.
When comparing estimates, look for specificity. A quote that says "interior painting, $X" tells you nothing.
Safety, Ventilation, and Low-Odor Products for Occupied Spaces
After-hours painting in an occupied building creates a specific safety problem: the space must be safe for workers at night and safe for occupants the next morning. Product selection, ventilation, and a reopen protocol all have to be planned before the first can of paint is opened.
Reading the Label Before You Buy the Paint
Paint labels are not marketing. Under federal law, architectural coatings must carry specific information, and the Safety Data Sheet (SDS) and product data sheet tell you what you need to know:
- VOC content. Look for the grams-per-liter figure. Lower VOC generally means less odor and better indoor air quality.
- Recoat time. How long before a second coat can go on, and a hint at how long the surface needs before normal use.
- Dry-to-touch and full-cure times. Dry-to-touch is hours; full cure can be days to weeks.
Ask the contractor to provide the product data sheet and SDS for every coating they plan to use. A contractor who cannot produce these documents is not managing the safety side of the project.
Ventilation That Actually Works
"Open a window" is not a ventilation plan. In a commercial space, you need air movement that replaces contaminated air and keeps fumes from migrating into occupied zones.
A practical approach:
- Cross-ventilation. Open windows or doors on opposite sides of the work area to create a flow path. One open window in a closed room does very little.
- Mechanical assistance. Box fans or air movers at the exhaust point pull air out and draw fresh air in. Position them so they do not blow dust onto wet paint.
- HVAC coordination. Fan-only mode can help move air, but confirm with the contractor and your building engineer first, running HVAC during painting can pull fumes into other zones or coat filters with paint particles.
Low-Odor and Zero-VOC Product Selection
Low-VOC and zero-VOC products are not identical. Zero-VOC formulations typically contain fewer than 5 grams per liter of VOCs, while low-VOC products can be higher but still below regulatory thresholds. Both reduce odor compared to standard alkyd or high-VOC products.
Trade-offs to expect:
- Cost. Low-VOC and zero-VOC interior paints often cost more per gallon, but the difference is usually modest and offset by fewer complaints and less disruption.
- Performance. Modern low-VOC acrylics perform well for most interior commercial work. Some specialty finishes, like certain high-gloss enamels or fast-dry industrial coatings, may have fewer low-odor options.
- Dry time. Some low-odor products dry faster, which helps in a tight after-hours window. Others dry slower. Check the data sheet.
For occupied commercial spaces, the practical default is a low-VOC or zero-VOC interior acrylic in the appropriate sheen. For trim and doors, a low-VOC waterborne enamel is often better than oil-based because it cleans up with water and produces far less odor.
Worker Safety at Night
After-hours work introduces hazards that daytime crews do not always face: reduced visibility, fatigue, and empty buildings where a fall or injury may go unnoticed.
Minimum practices to confirm with your contractor:
- Fall protection. OSHA requires fall protection at certain heights, ladders used correctly, scaffolds with guardrails, or lifts with trained operators.
- Respiratory protection. When spraying or using products with strong solvents, respirators may be required. The SDS specifies the type.
- Lighting. Work areas should be lit well enough to see surface defects and avoid trips. Portable work lights are standard on after-hours jobs.
The Morning Reopen Protocol
Before employees return:
- Confirm all painted surfaces are dry to the touch.
- Remove or secure all plastic sheeting, drop cloths, and cords.
- Restore HVAC to normal operation and confirm no paint odor is objectionable.
- Unmask outlets, switches, and fixtures and confirm they work.
- Walk the space with the contractor and document any touch-ups.
A contractor who plans ventilation, selects the right product, and follows a written reopen protocol is protecting your employees, your property, and the quality of the finish.
How to Compare Bids and Verify Contractor Qualifications
Getting multiple estimates is standard practice, but comparing them requires understanding what you're actually comparing.
Start with written scopes from each contractor.
Check credentials. Ask for business licensing, insurance, and references from recent commercial projects.
Ask about experience with after-hours work specifically. Contractors who do it regularly understand the coordination, safety protocols, and efficiency required.
Verify they understand your business needs.
The best contractor for your commercial painting project is one who communicates clearly, provides detailed written scopes, and has verifiable experience with commercial after-hours work. At LMJ Bright Painting Services, we prioritize this approach. We provide a free smart interior painting cost estimator and in-person verification before final pricing, that's how we ensure there are no surprises.
After-hours commercial painting requires planning, but it solves a real problem: you need your business to operate normally while your space gets a professional refresh. We work around your business hours, provide detailed written scopes, and maintain transparent communication throughout the project. Build a free estimate with us and see how clear planning makes the difference.
Frequently Asked Questions
Can commercial painting be done after business hours?
Yes. Many commercial painting contractors, including those in the area, specialize in after-hours work to avoid disrupting daily operations. Evening and night shifts allow painters to complete interior painting while your business remains closed. Scheduling depends on your facility's size, the scope of work, and the contractor's availability. A professional contractor will coordinate timing upfront and provide a written schedule before work begins.
How long does after-hours commercial painting take?
Duration depends on square footage, number of coats, surface condition, and ceiling height. A small office might take 2-4 nights; larger retail or multifamily spaces may require 1-2 weeks of evening shifts. Your contractor should outline the project timeline in the estimate, including prep days, painting nights, and drying time. This clarity prevents surprises and helps you plan staffing and reopening.
What should I include in a commercial painting estimate?
A detailed commercial painting estimate should specify square footage, number of coats, surface preparation required, paint type and finish, trim and ceiling work, protection and cleanup, scheduling, and total cost. It should also clarify what's excluded (e.g., repairs, special coatings) and confirm the contractor's timeline. A written scope protects both parties and prevents hidden charges or scope creep.
How do I know a contractor won't find 'hidden issues' and charge me extra once they start?
Request an in-person site visit before final pricing. A professional contractor will inspect surfaces, note repairs needed, and document everything in writing. The estimate should separate base costs from optional add-ons (e.g., drywall repair, caulking). Ask for a detailed scope of work that defines exactly what's included and what costs extra. This upfront clarity is the best protection against surprise charges.